
Print Page only works from a PC not a phone
1. First thing is get logged in! We can’t get much done until then. If it asks you to actually prove you are not a robot enjoy… it will call you a liar a few times LOL

2. When this pops up, tell it you understand. Just click I understand. Maybe you do, maybe you don’t, but if you want to be reimbursed, roll with it for now.

3. If you have multiple children this is the time to check and make sure you are on the right child’s account. In the upper right up there click the lines.

4. Here you pick the child from the drop-down menu. Just click their name.

5. Once again just UNDERSTAND.. Just click and move on lol

6. OK now after you click on start a new reimbursement (see images above its right below your balance) this will once again ask for you to understand so do some more understanding and click it.
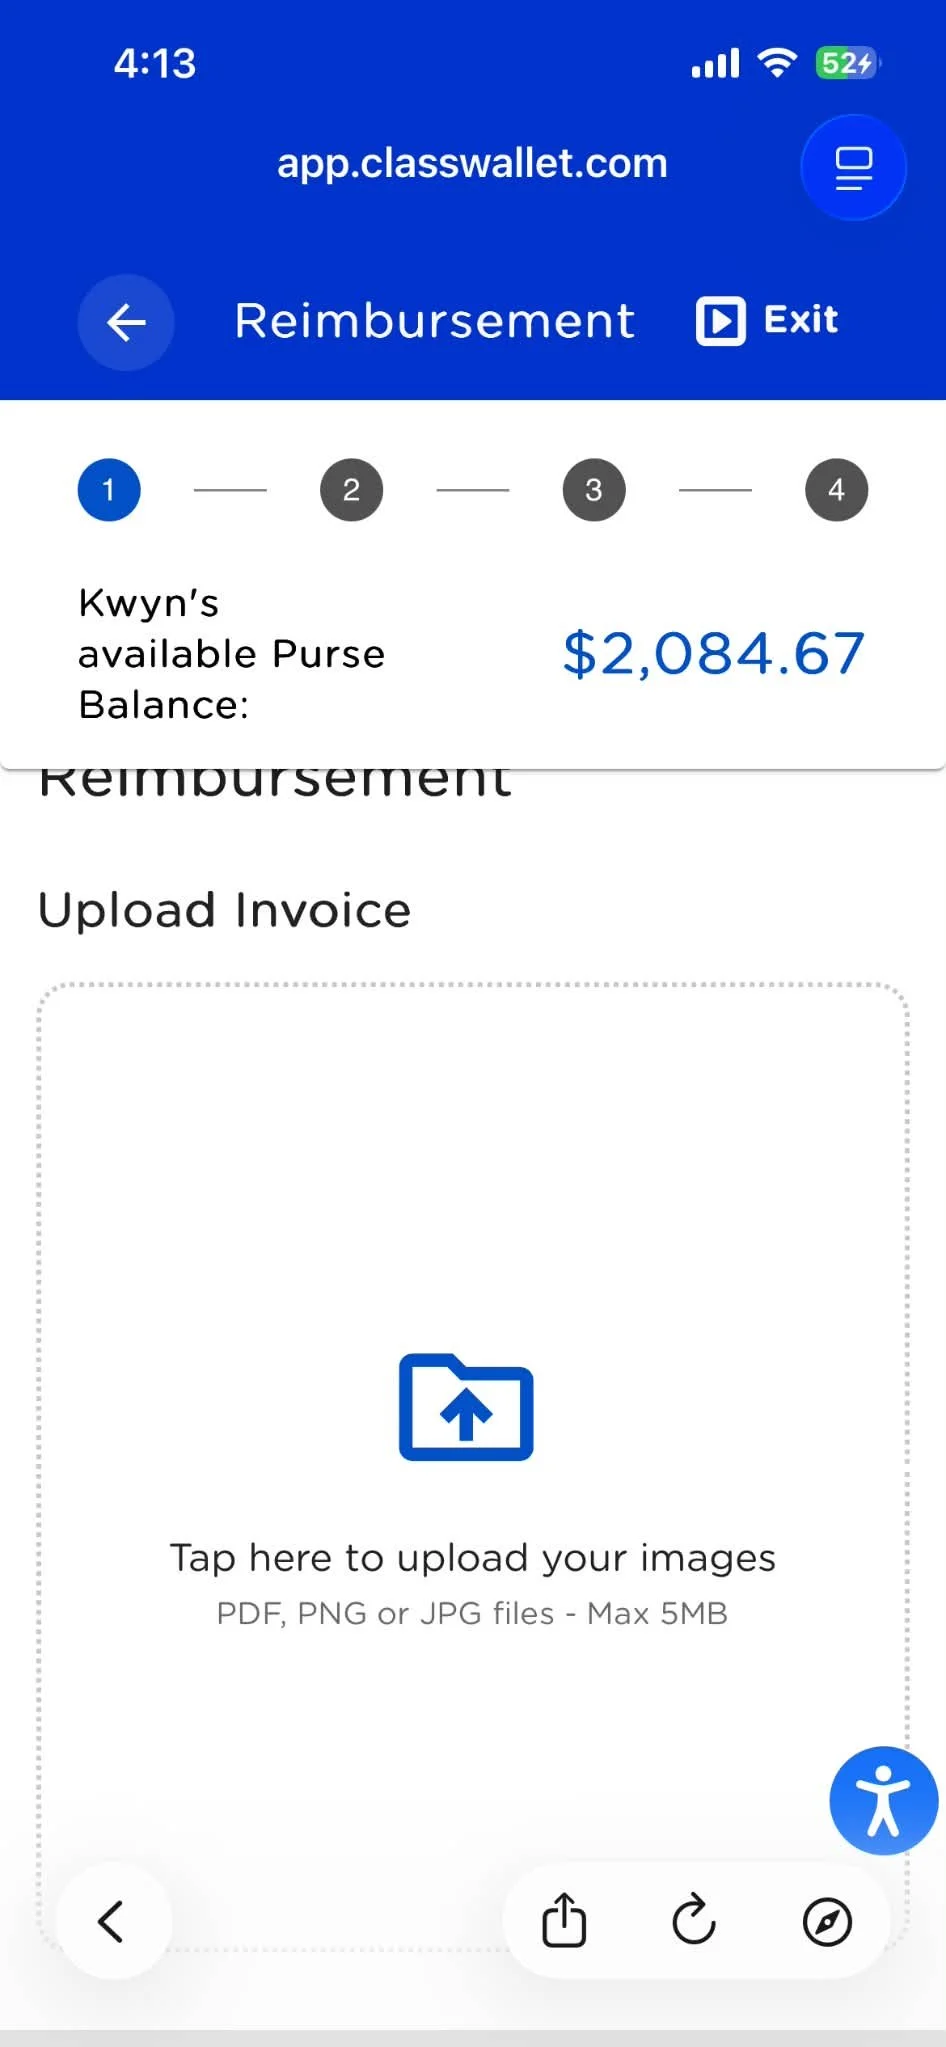
7. Now here you will upload your receipt or your mileage receipt (for this example it is mileage)
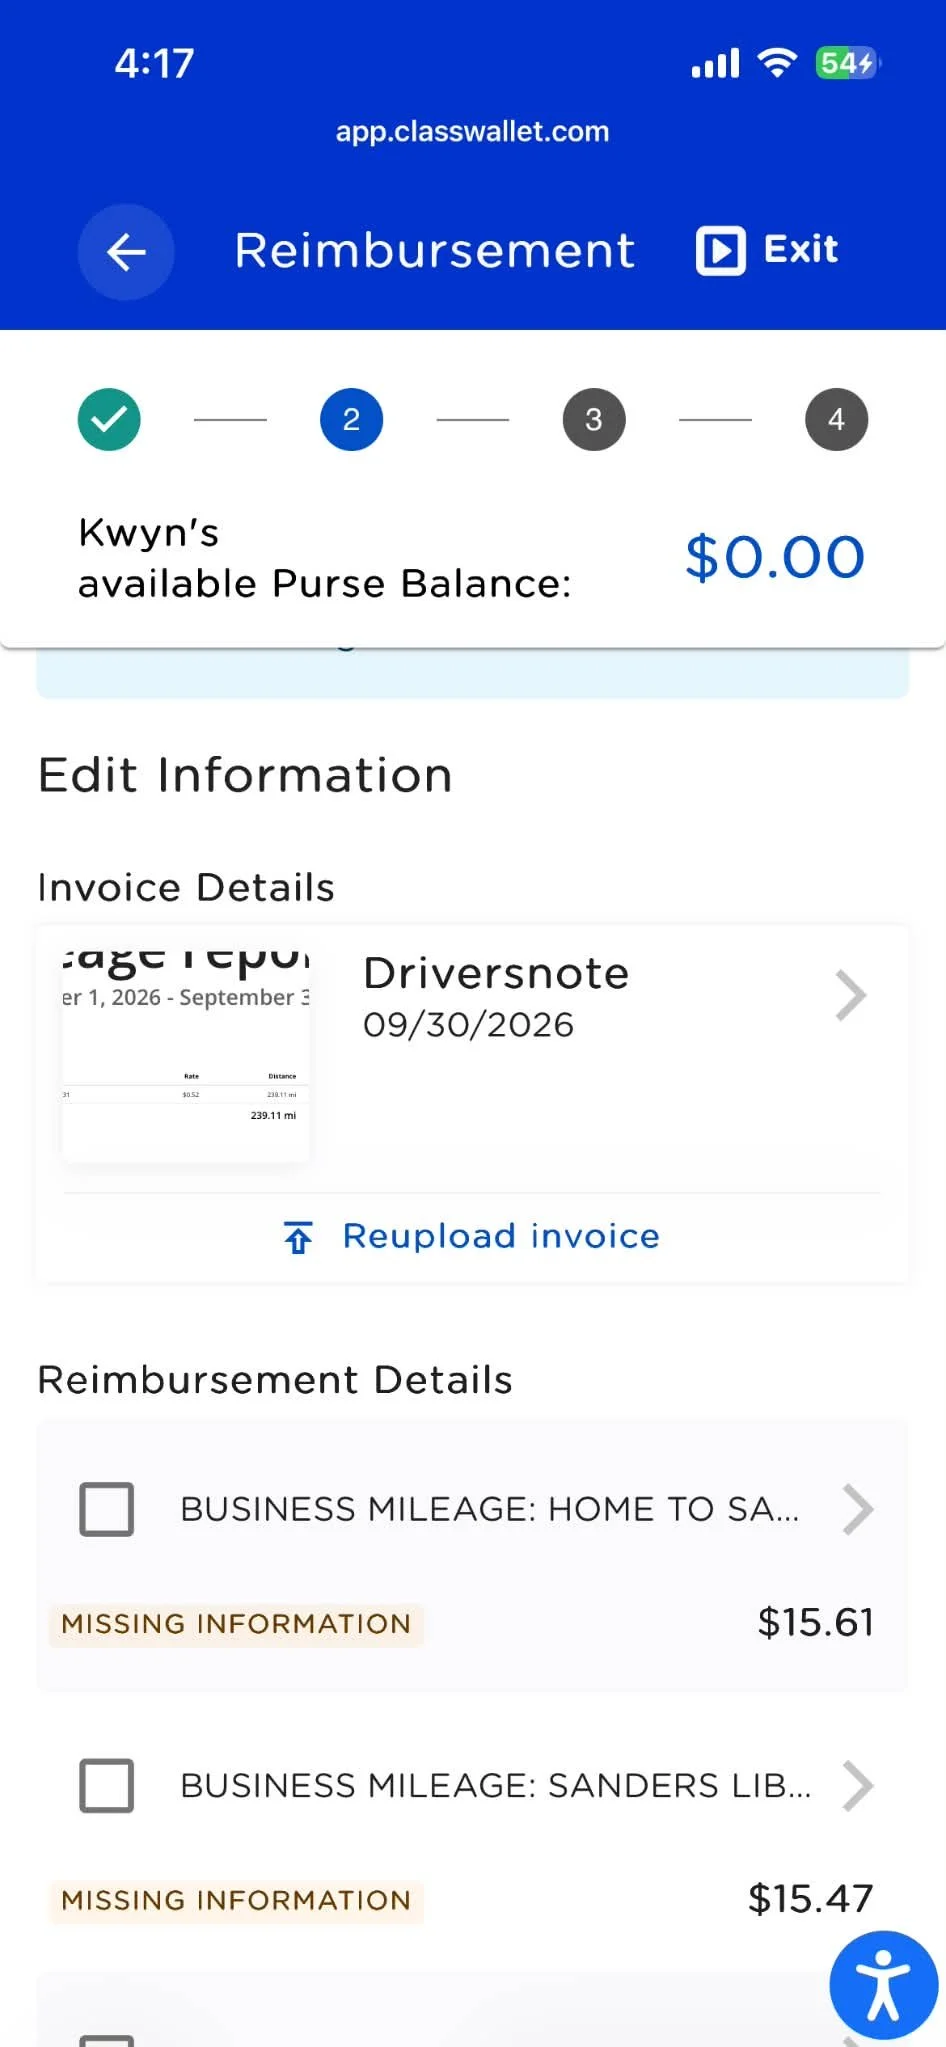
8. The system will now pull each item or “trip” for milage and individually place them in the details section.
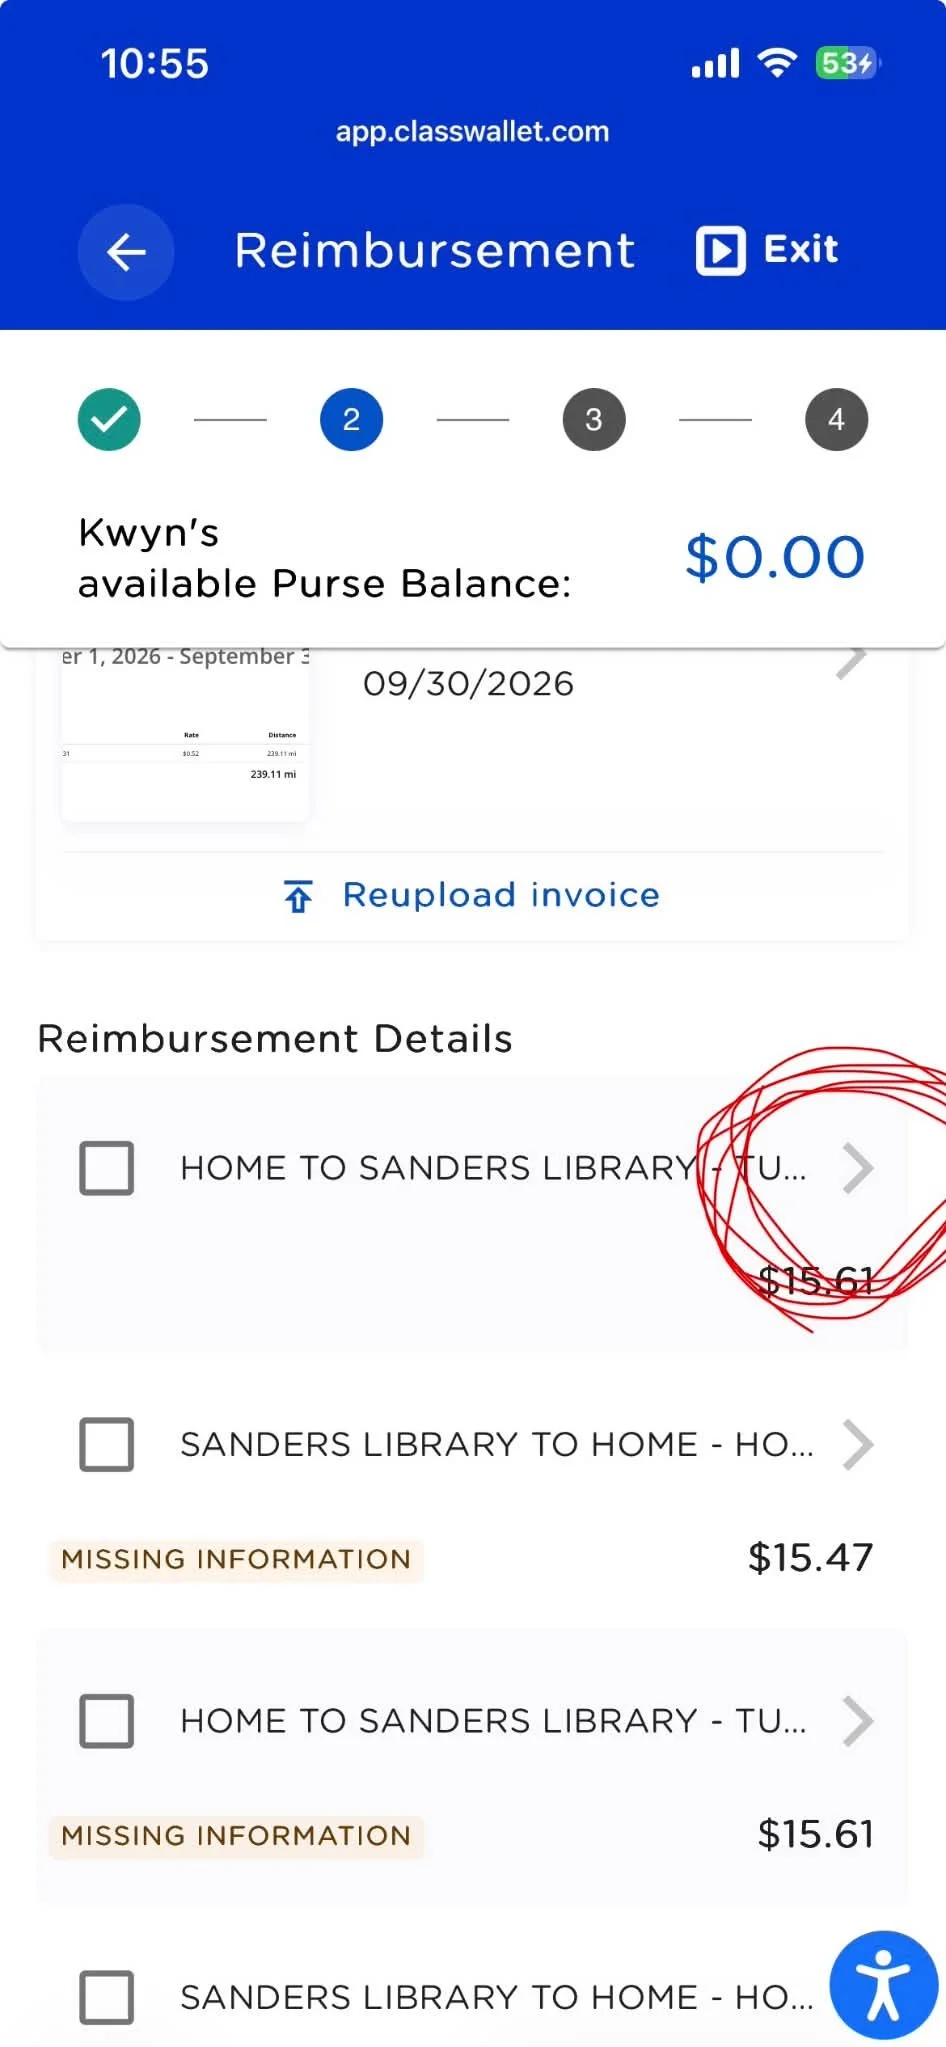
9, if one of these is wrong - click this little arrow next to the one that is wrong.
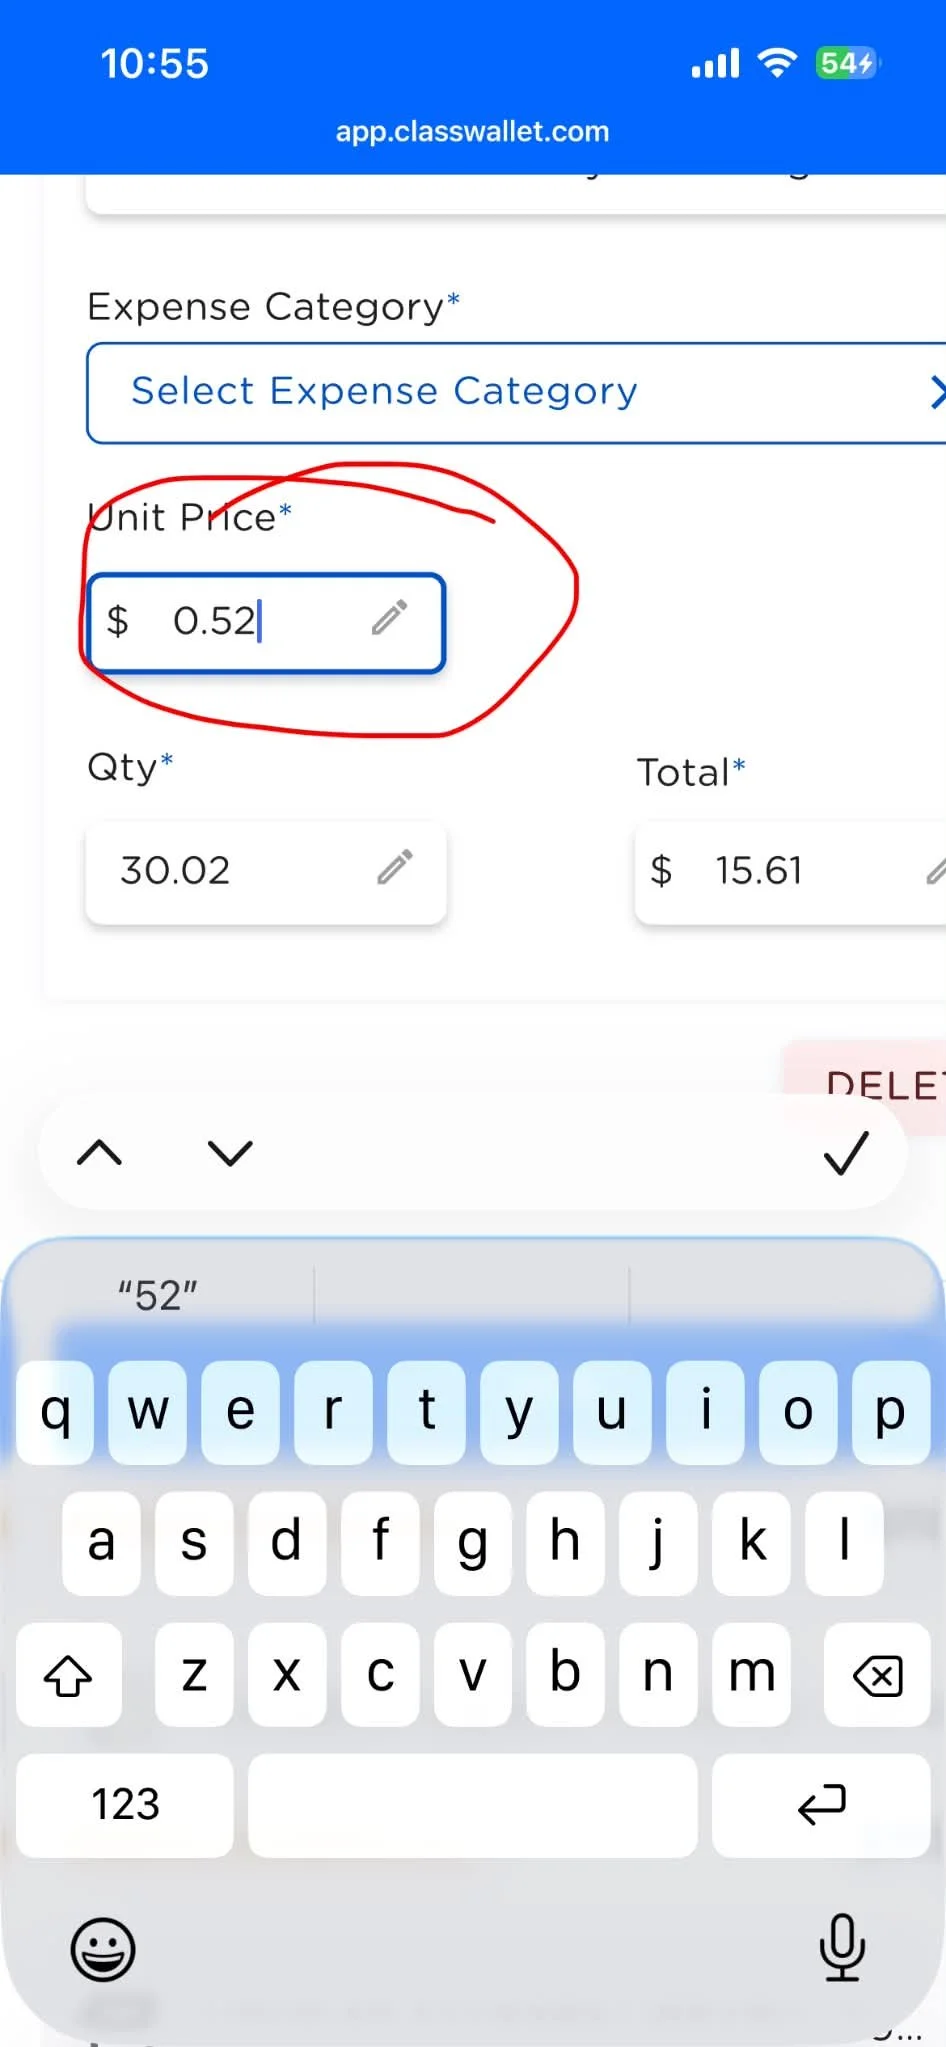
10. click in this box.. click the number not the pencil its apparently a useless pencil and doesn’t do crap. But if you click int he box your kepyboard will pop up and you can edit the numbers to correct them.
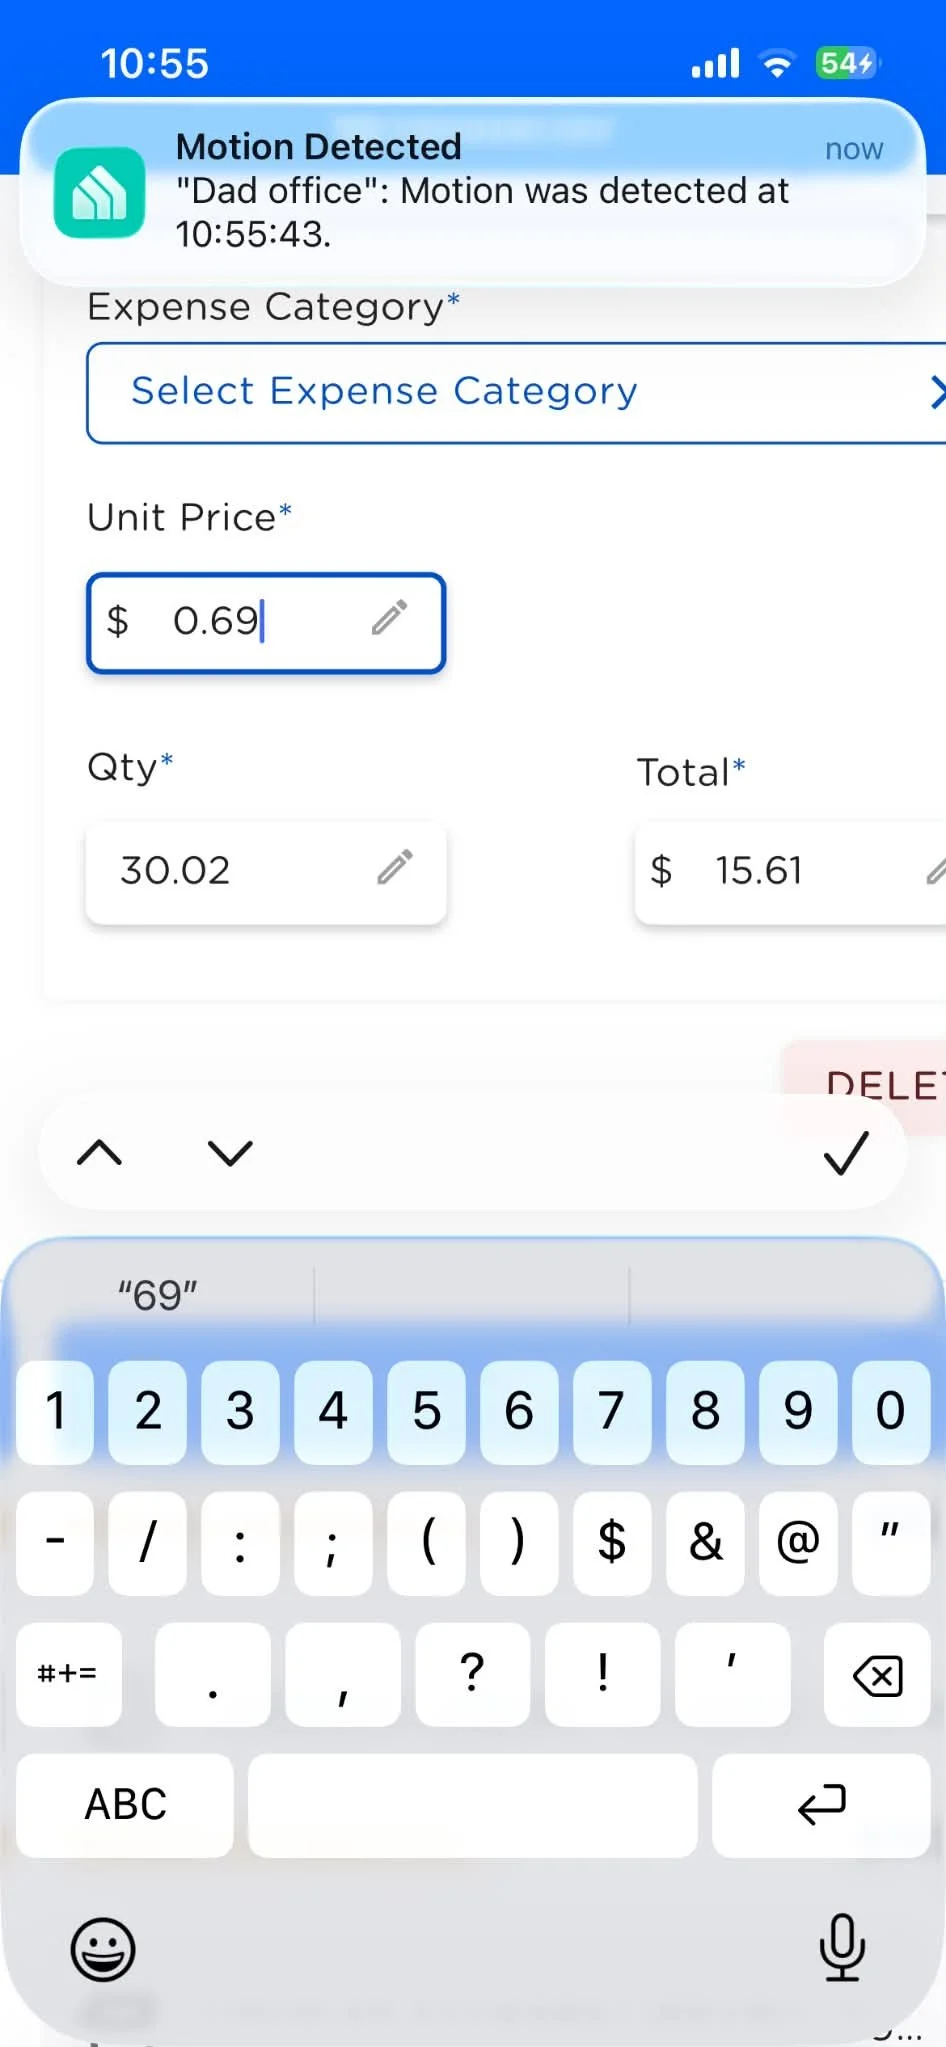
11. see it let me change it no problem on my phone
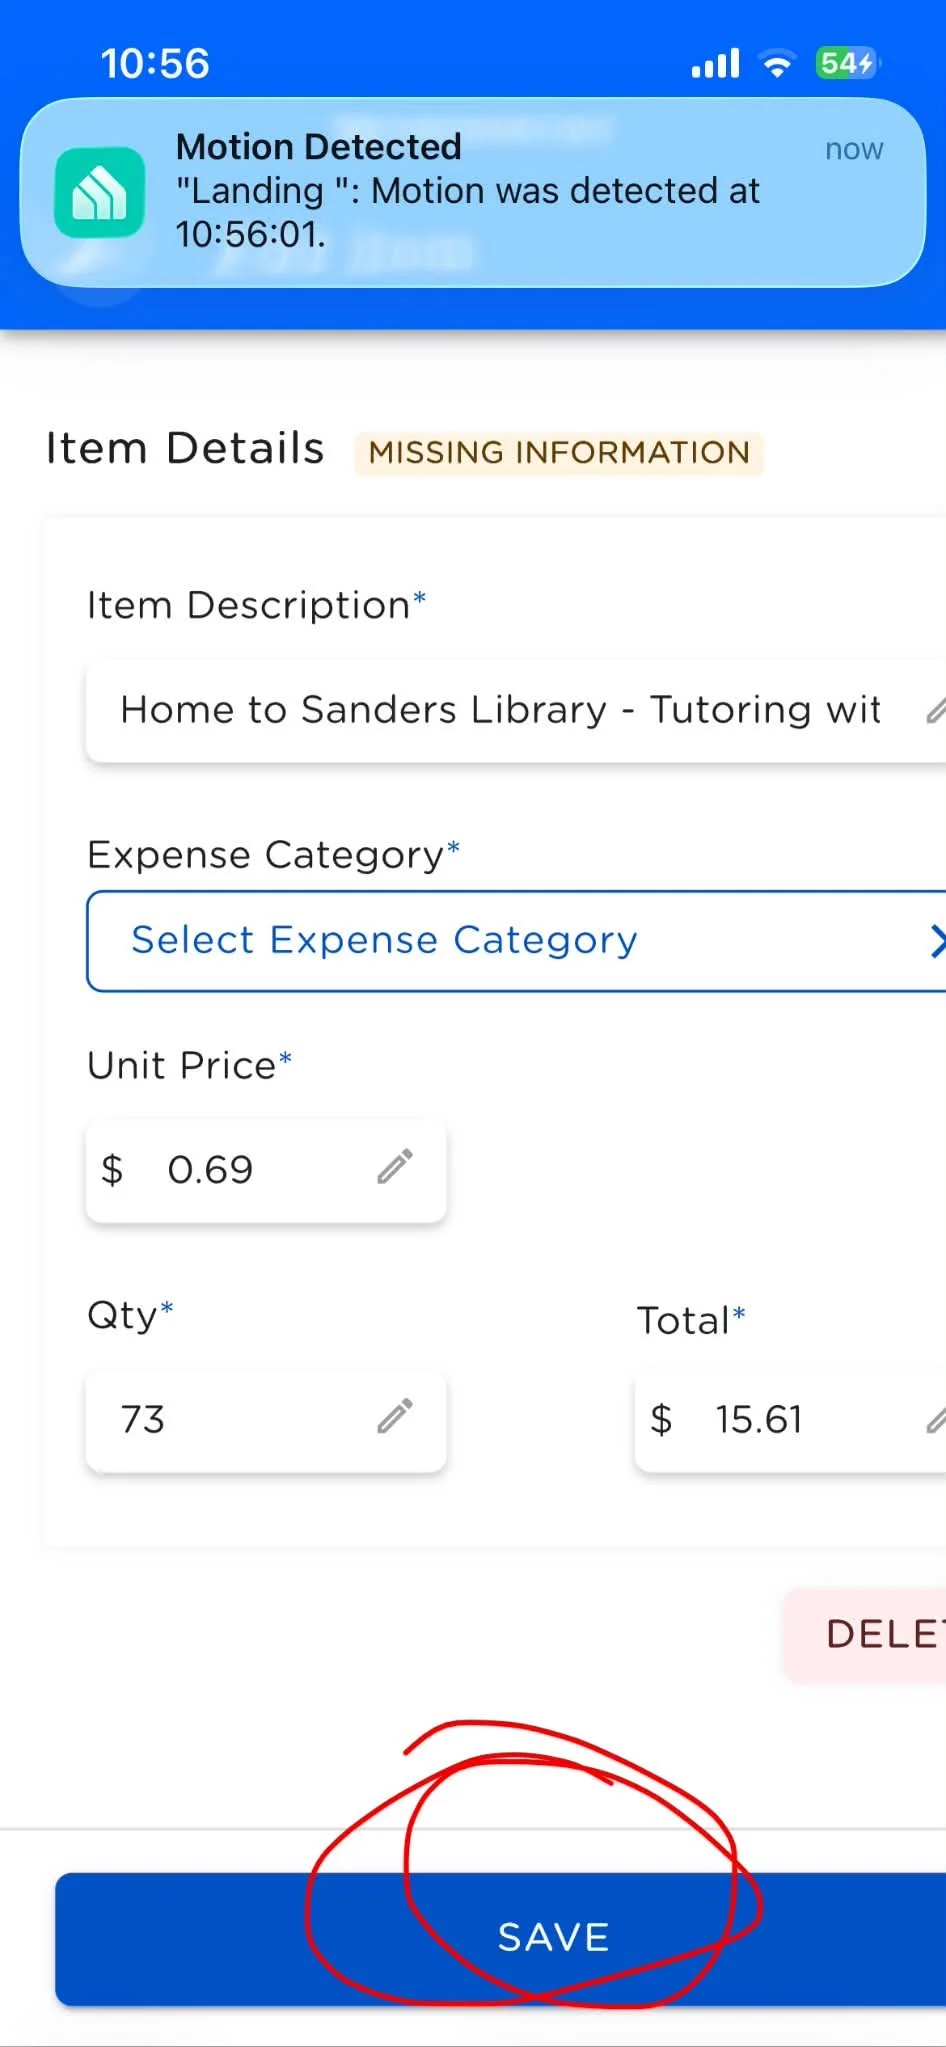
12. you must click save next to save the changes.
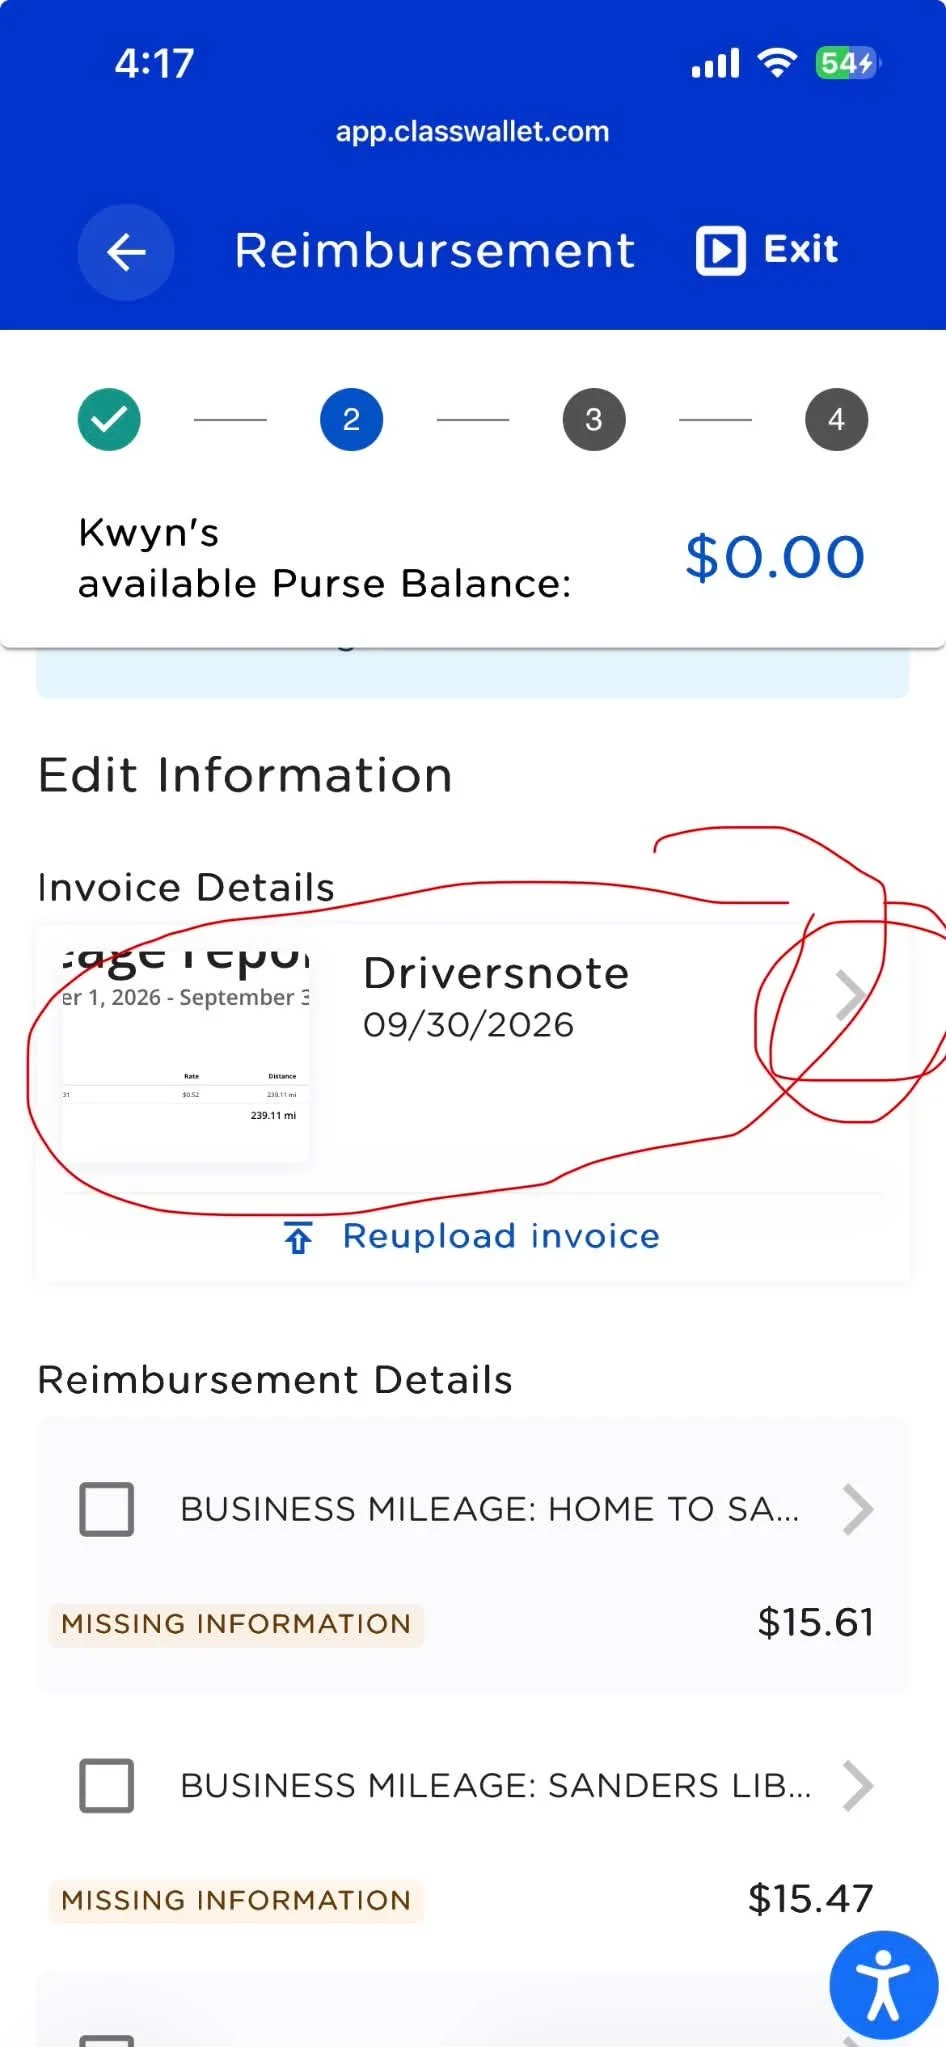
13.If the information is not accurate such as vendor name you can click here to edit that information and correct it.
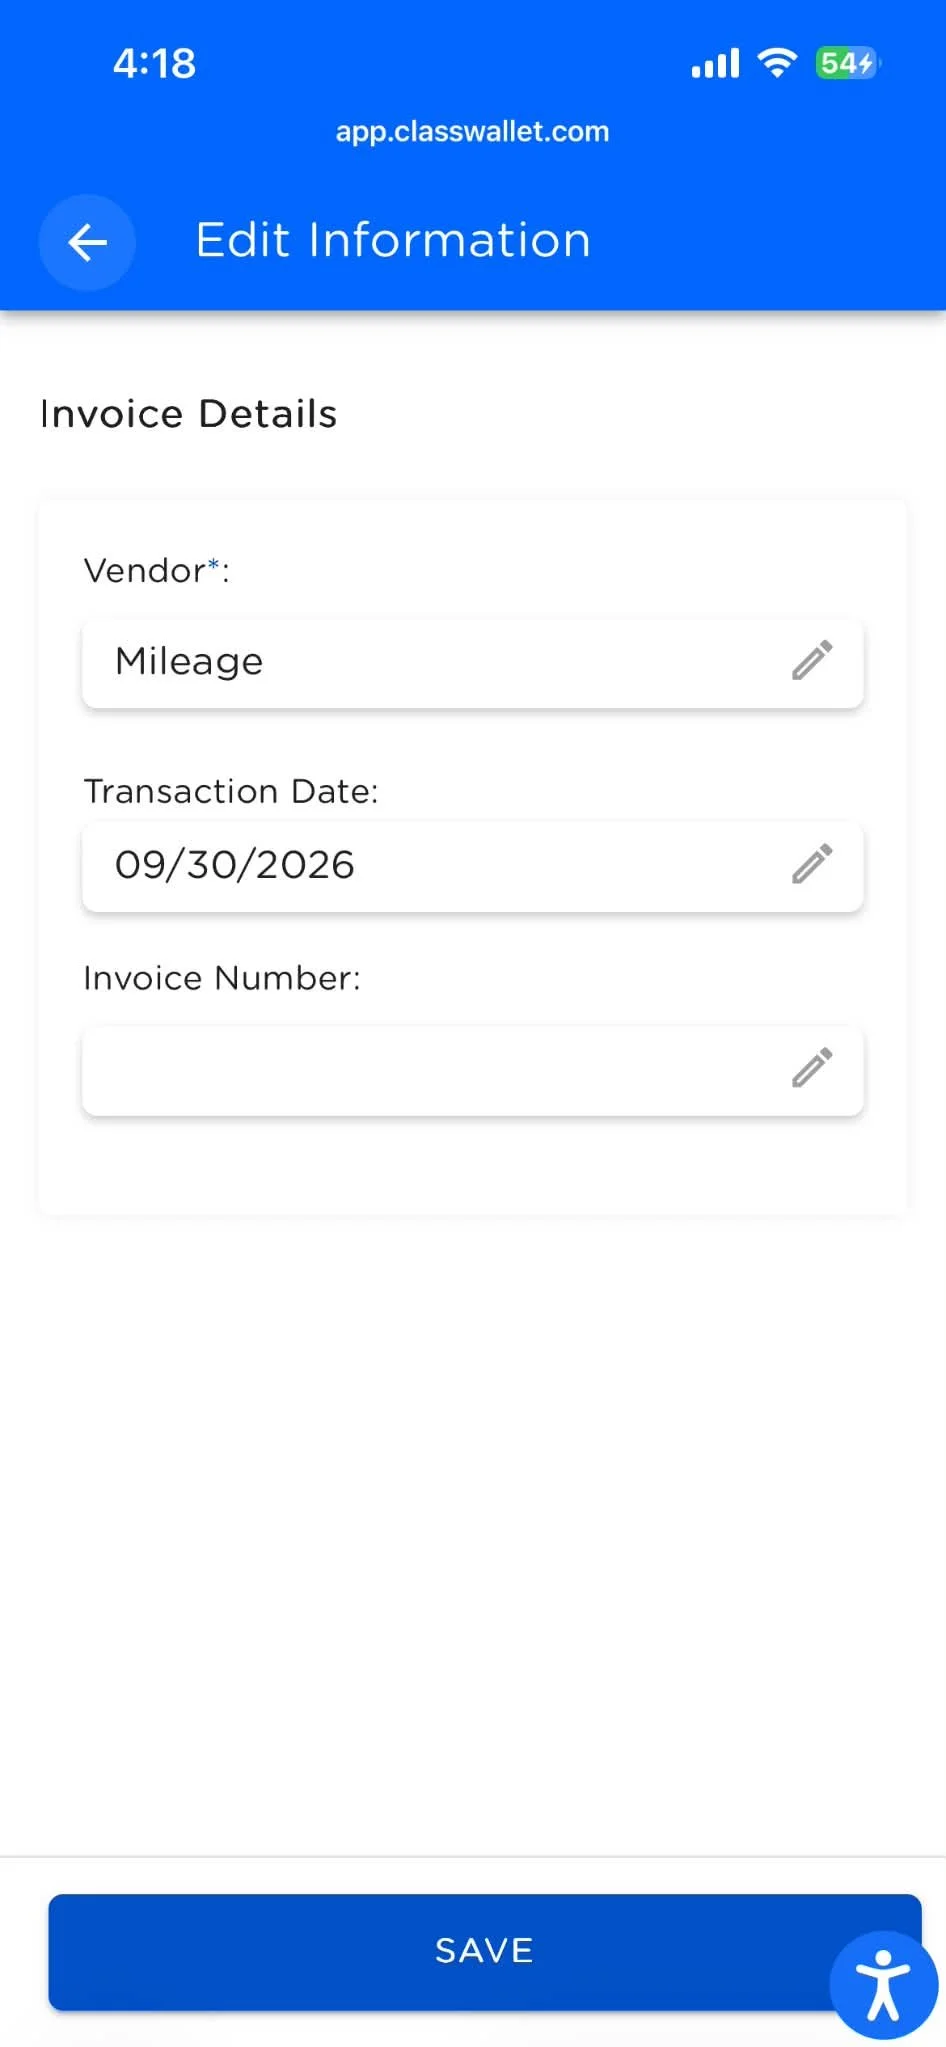
14. You can change it as I did here if it’s wrong, I use driversnote to compile my mileage so it pulled that and I need it to say mileage so I changed it.
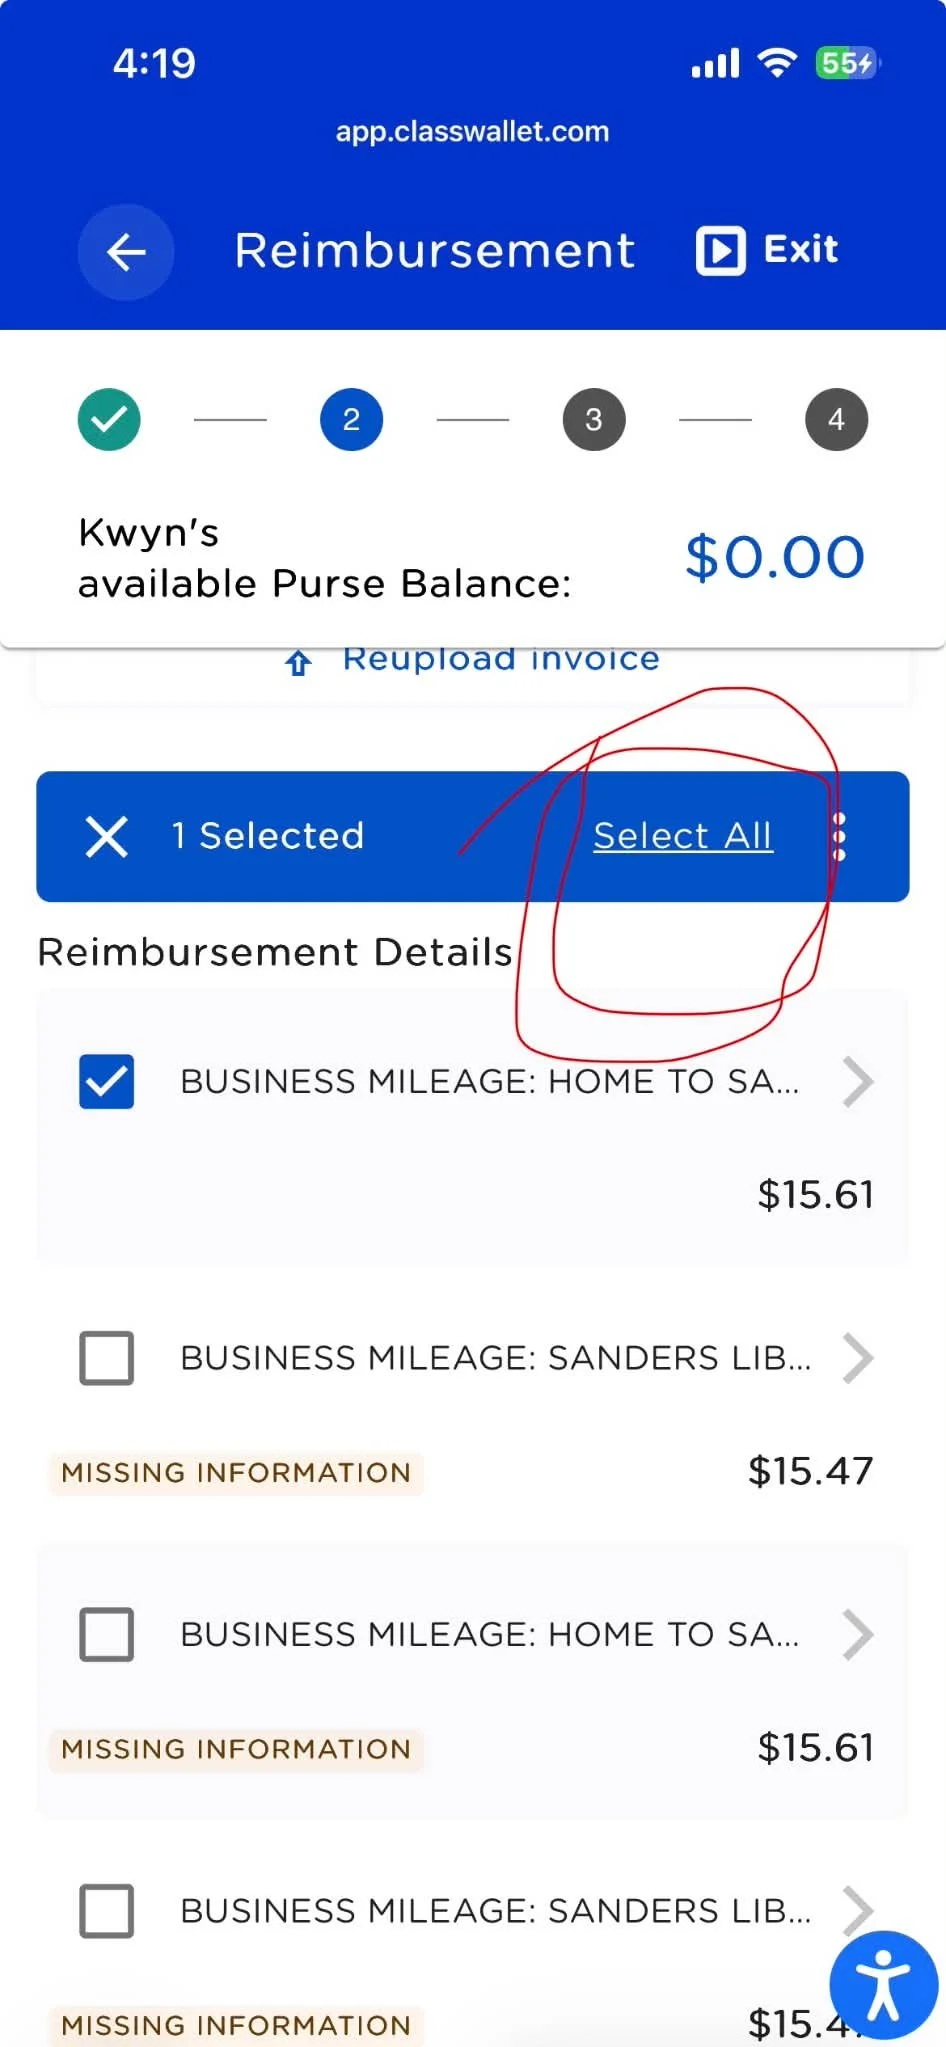
15. when you select the first box the select all appears at the top. If all of your items are the same category, then you can choose to select all here to select them all. If your receipt has items that should be in multiple categories, you will need to select only the ones for one category at a time then go back and select the next category to correctly place the other items.
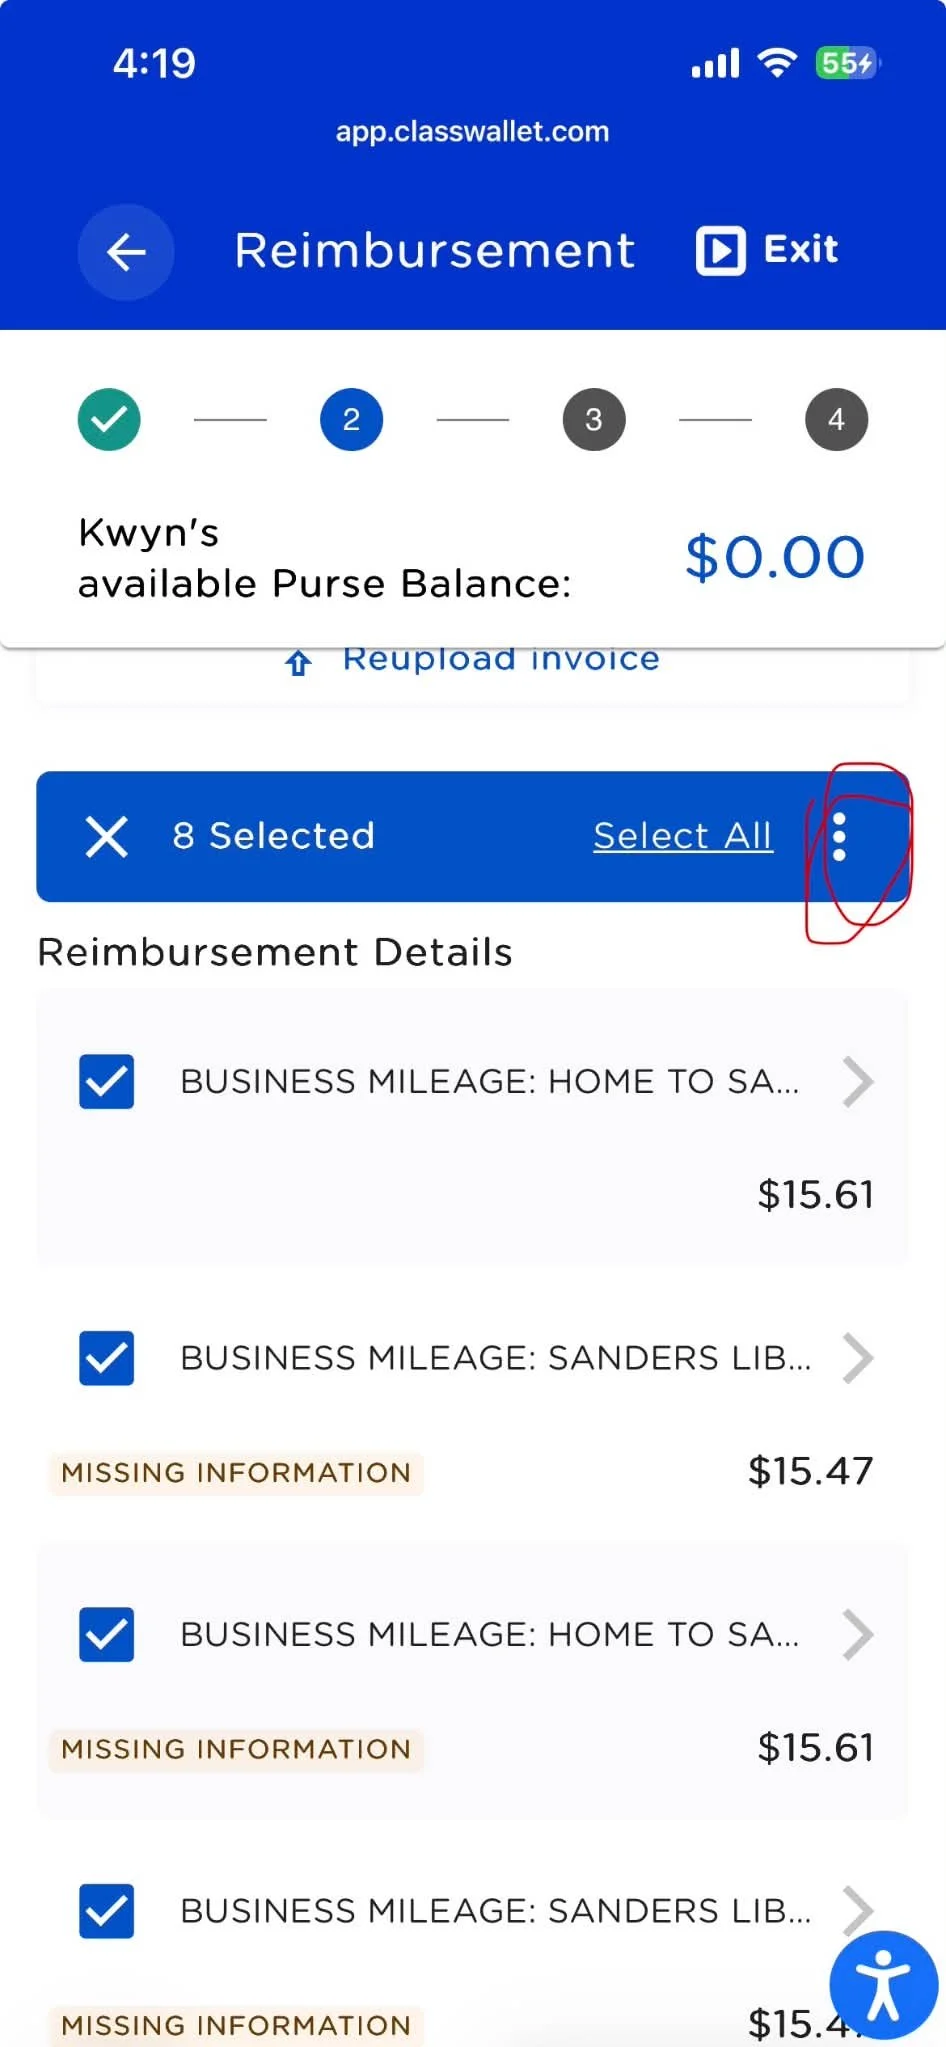
16. Now these three little dots here after you select each item you need to categorize together will take you to those options.
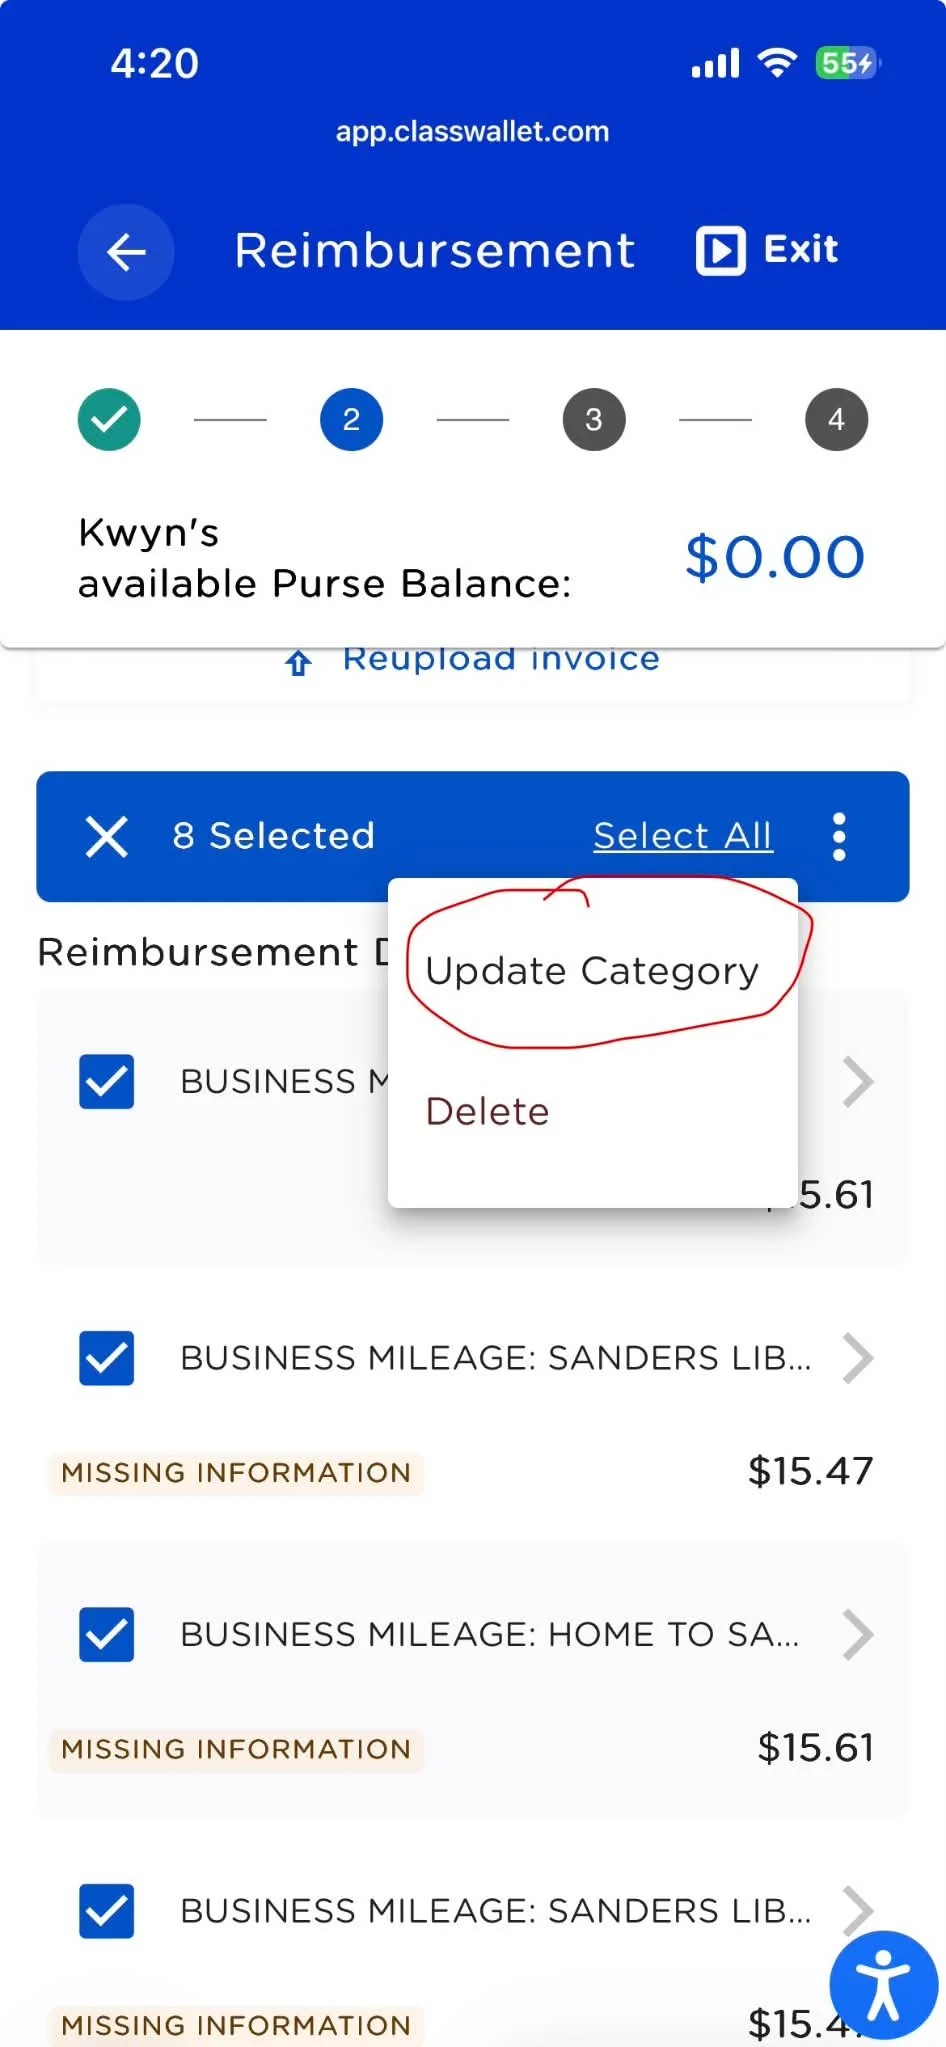
17, See there it is UPDATE CATEGORY
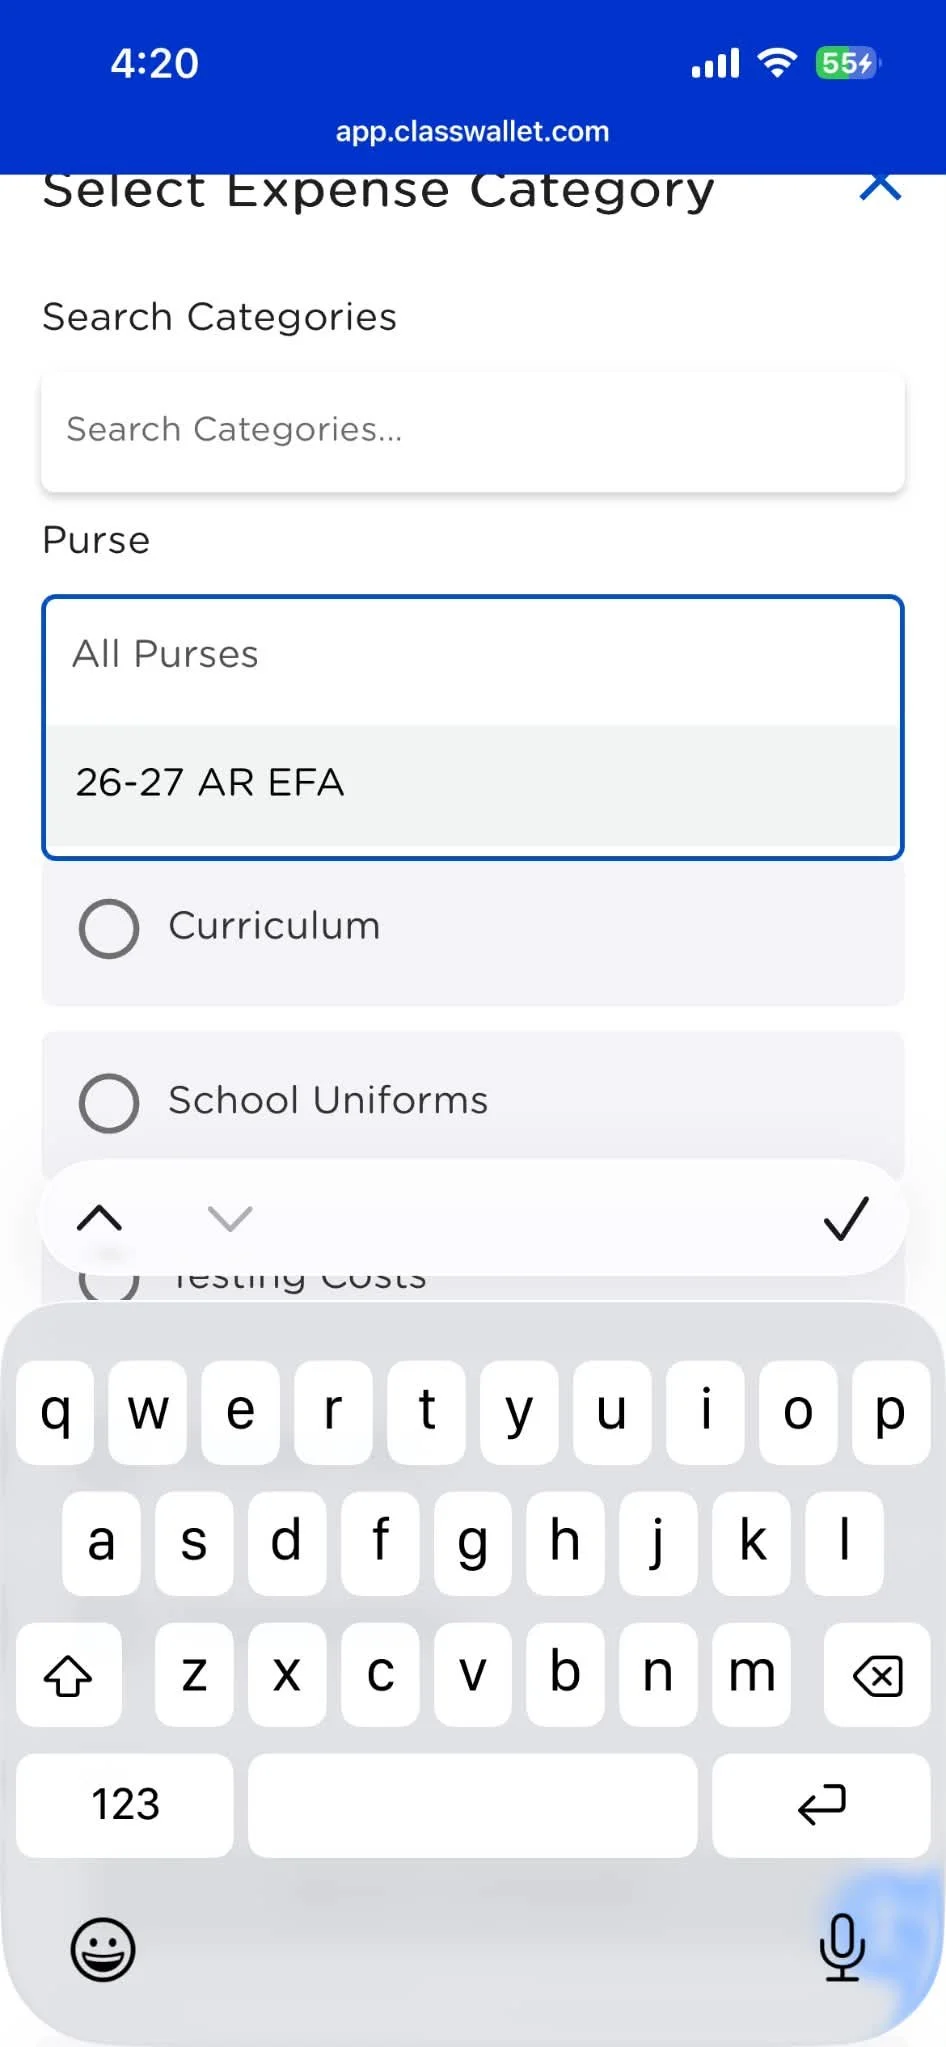
18. Here you will select the purse…
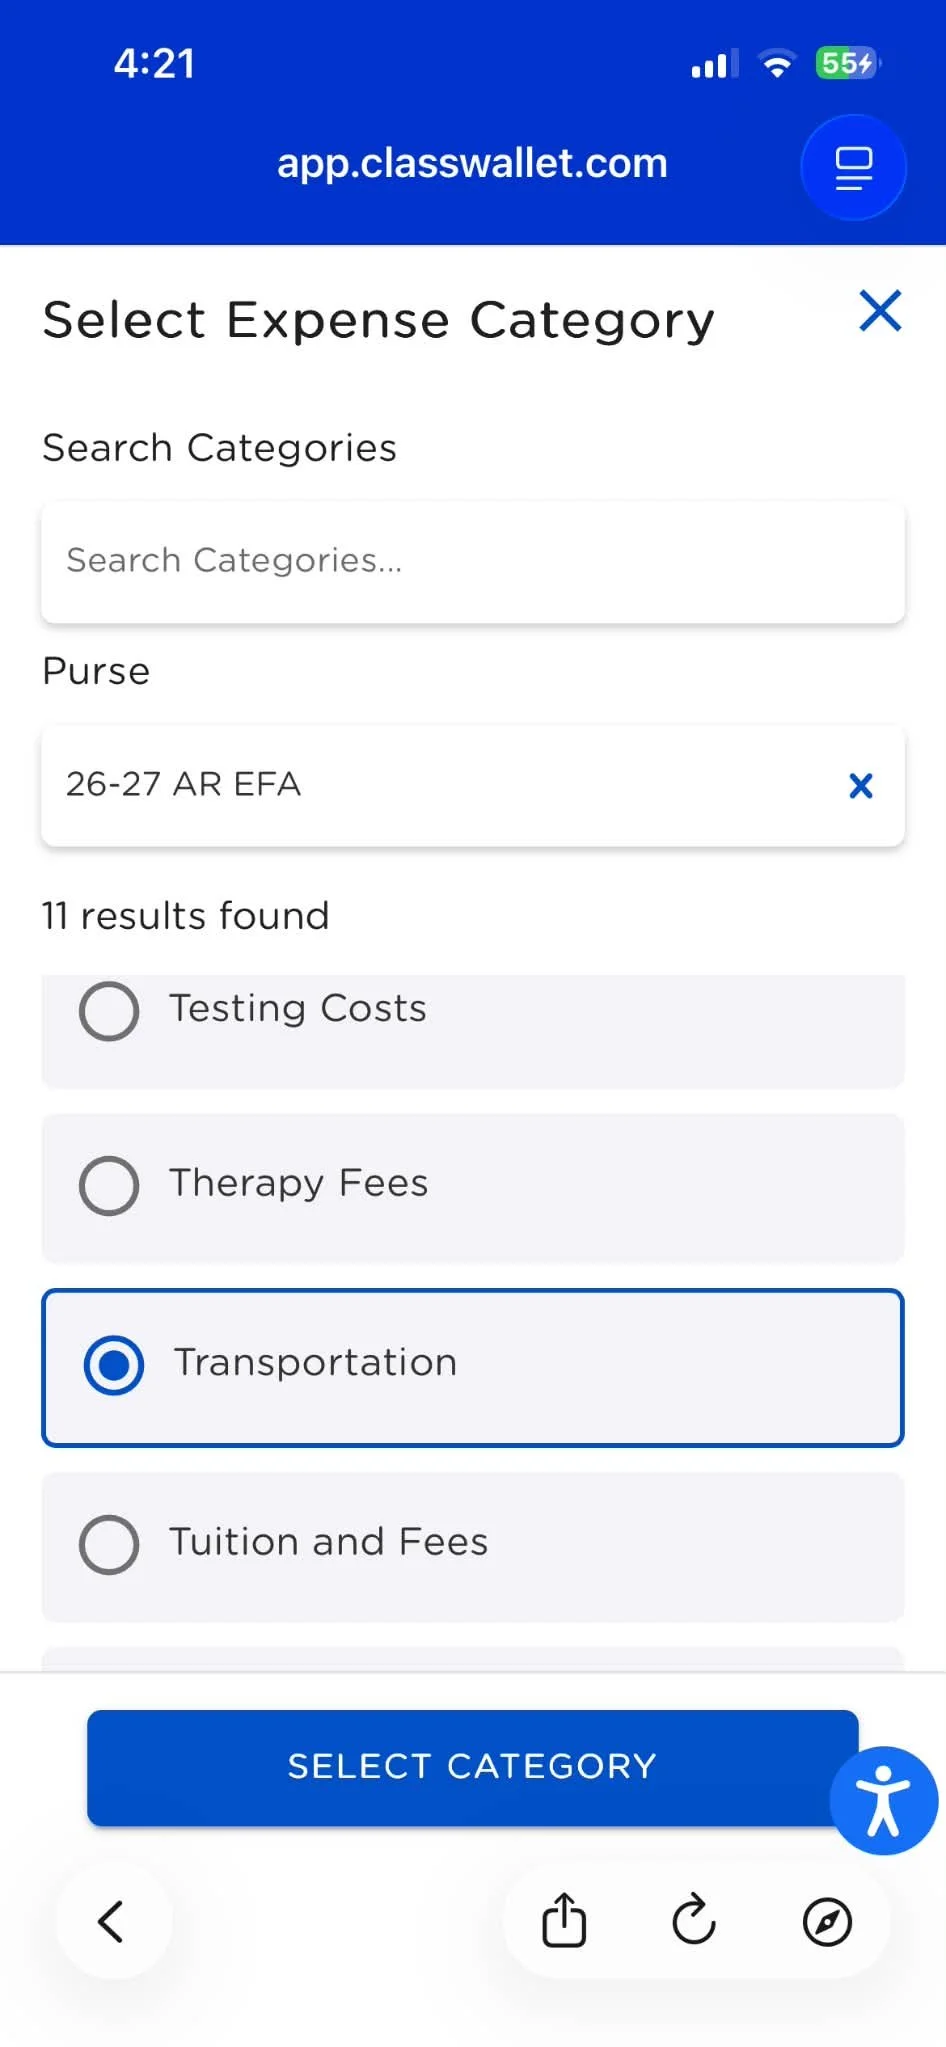
19. Next you choose the category.
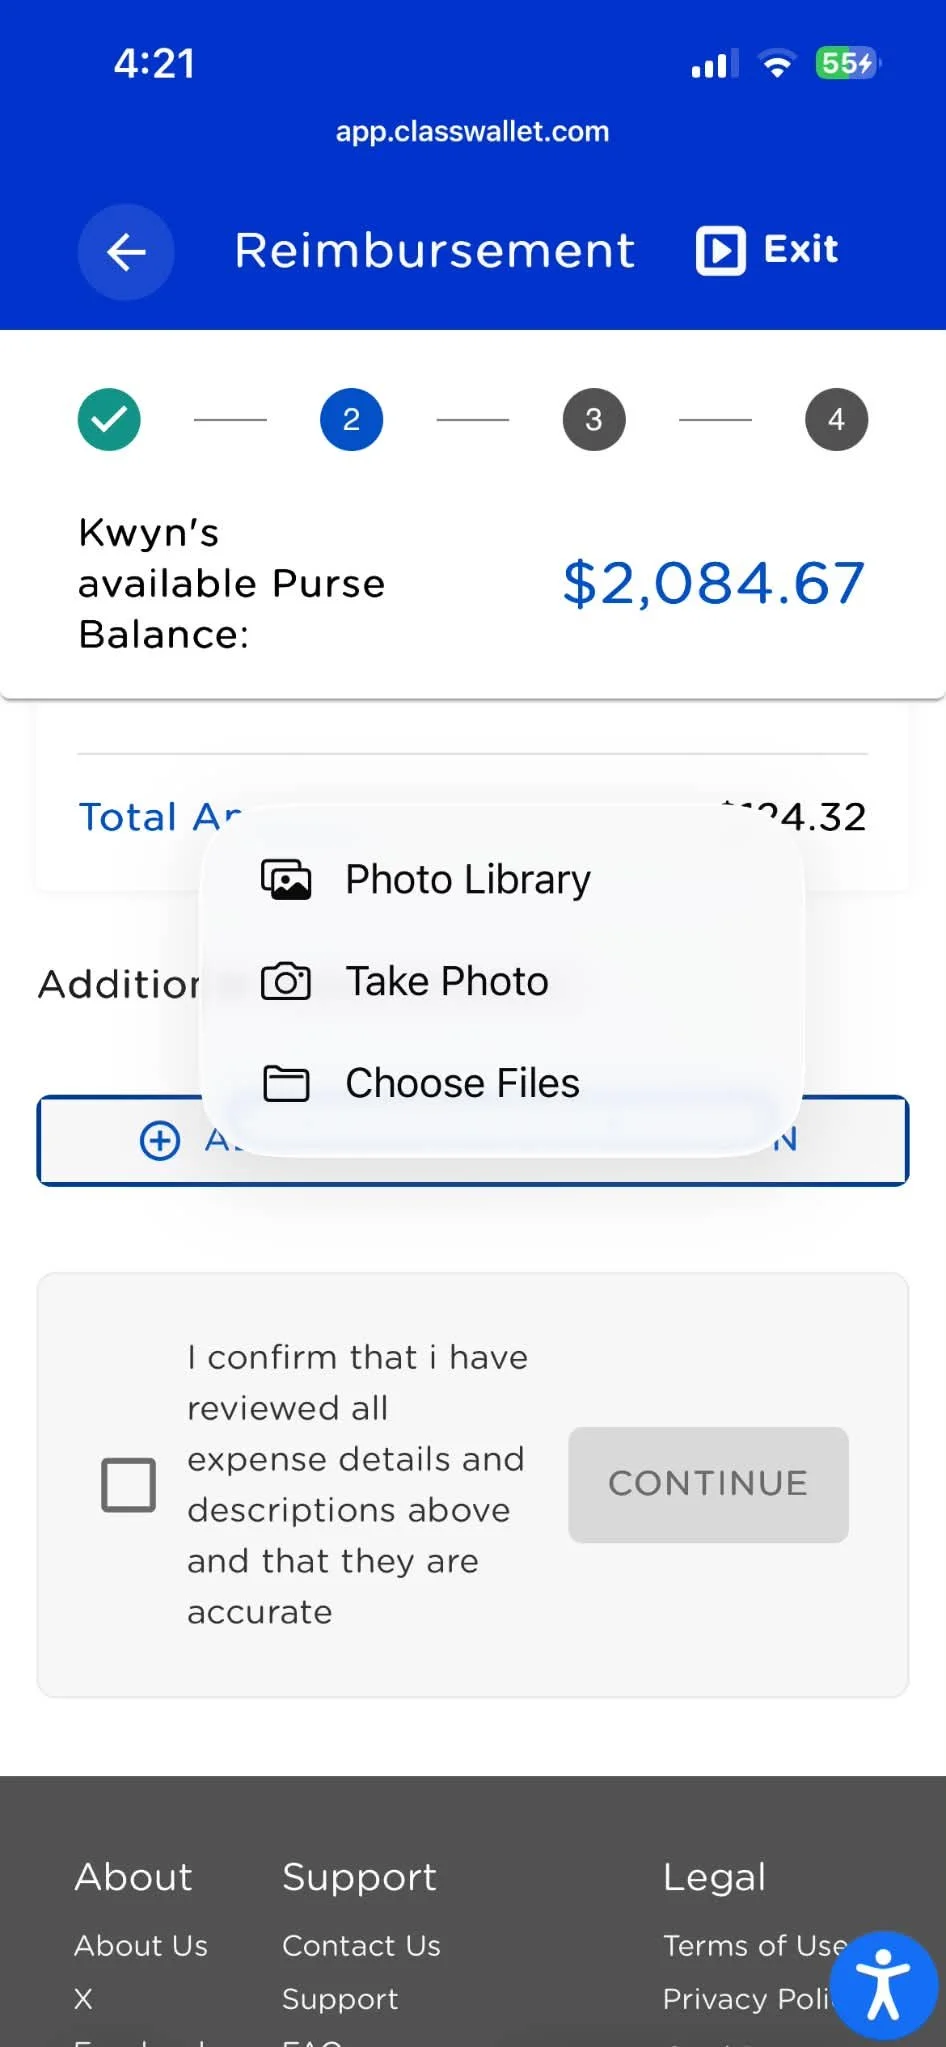
20. once that is selected your next step is to upload documentation - here that’s a map and proof of enrollment for the tutoring lessons. I used a screenshot of the approved payment in classwallet for her tutoring sessions that has all of the dates listed.
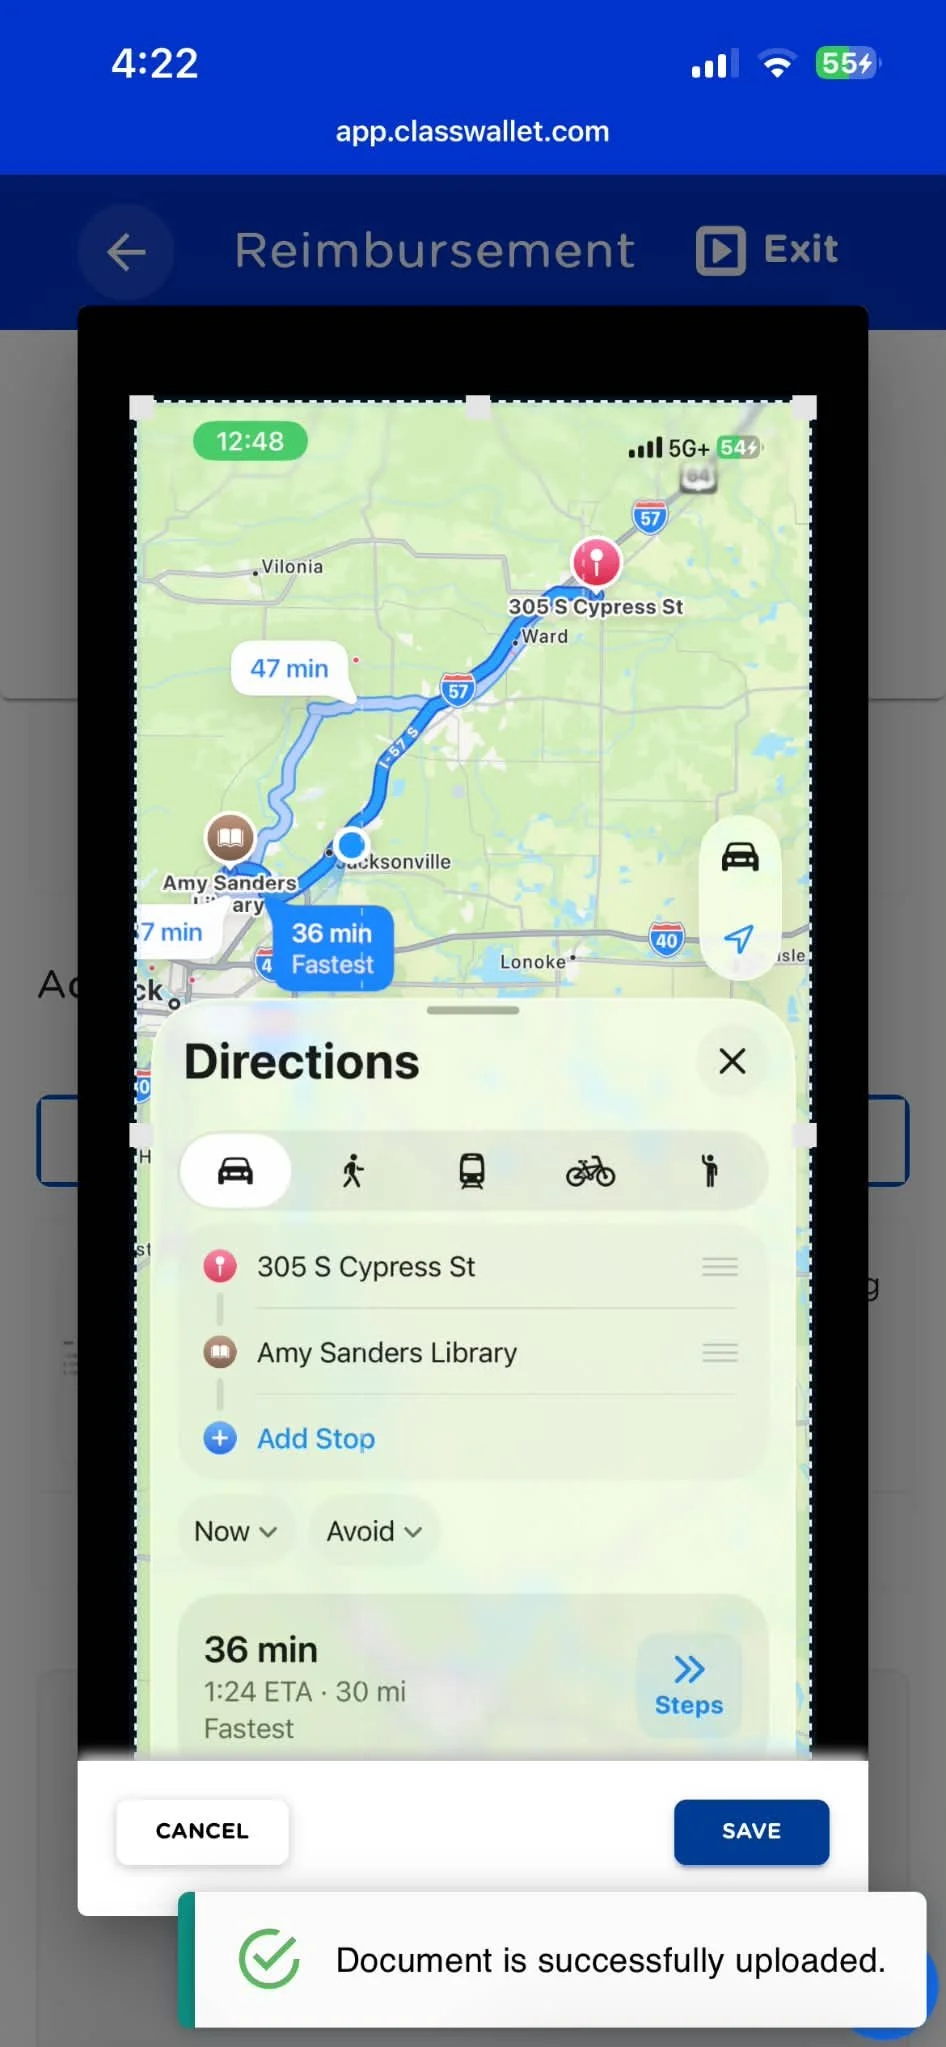
21, once its showing you need to click save for each document or image until all are uploaded.
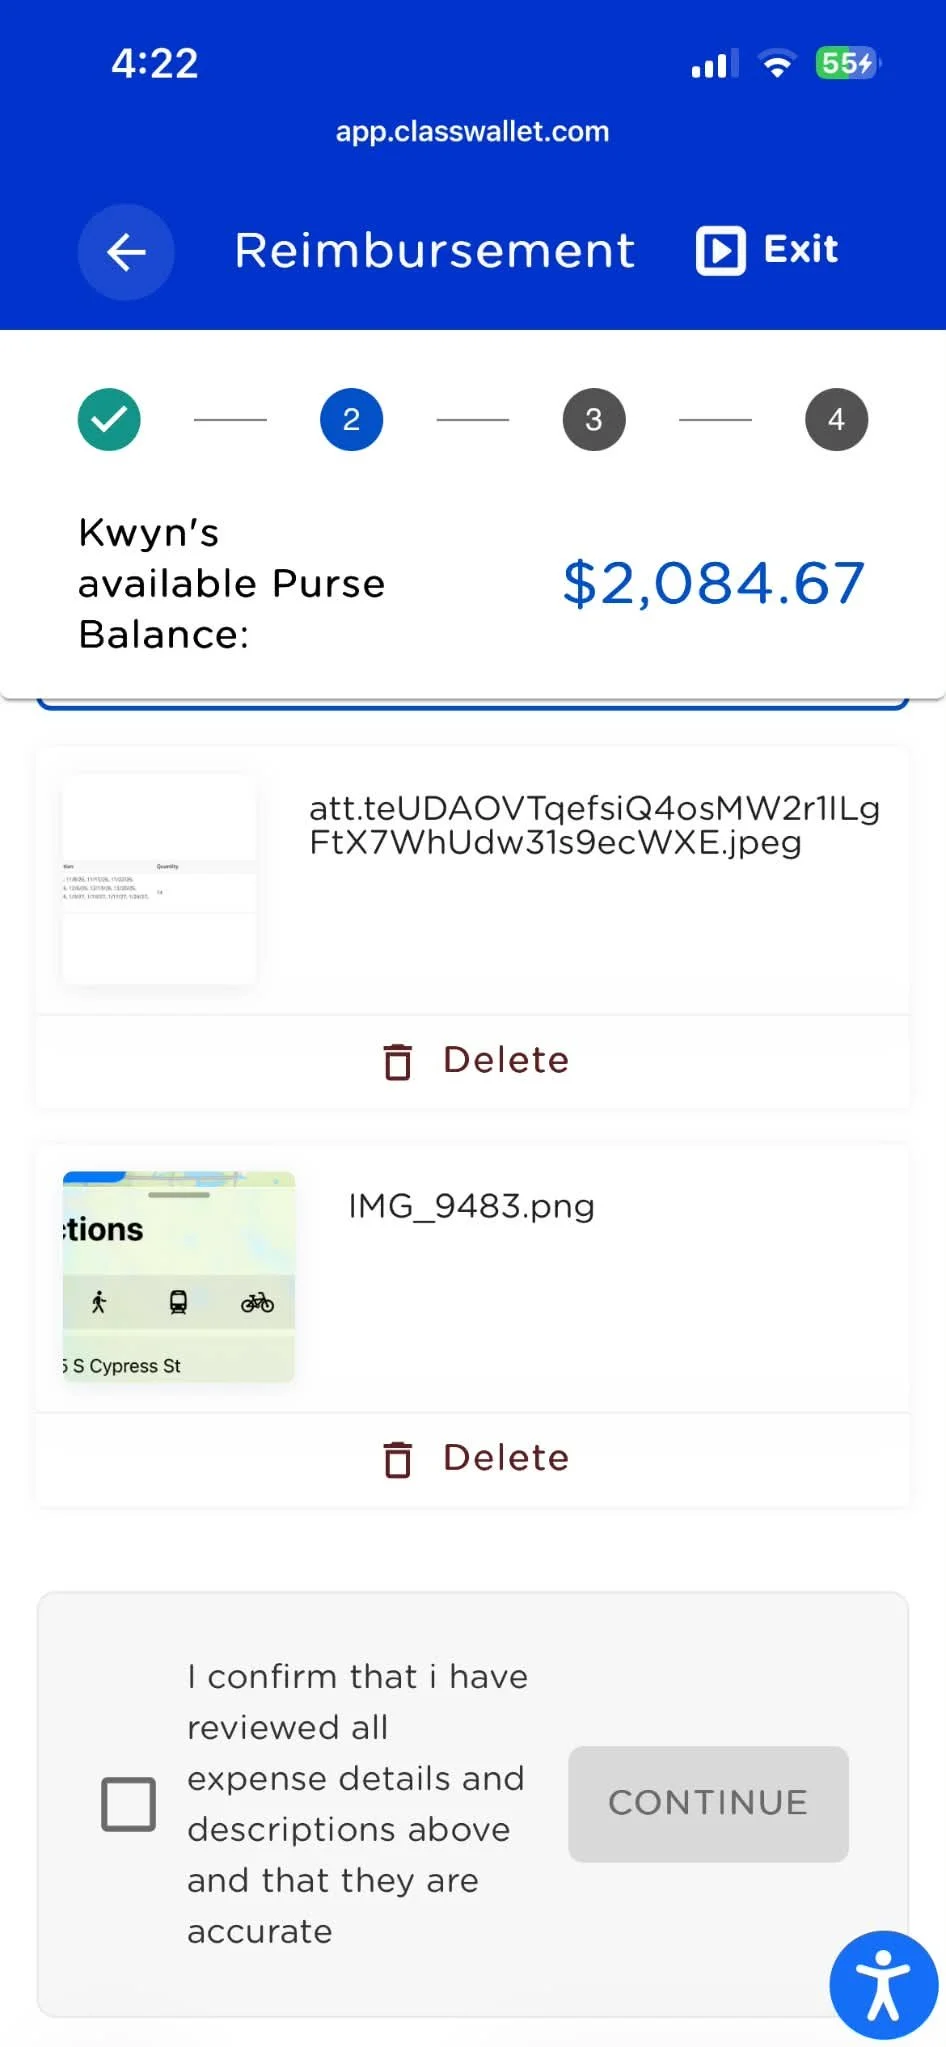
22. see you can see my two files are both there.
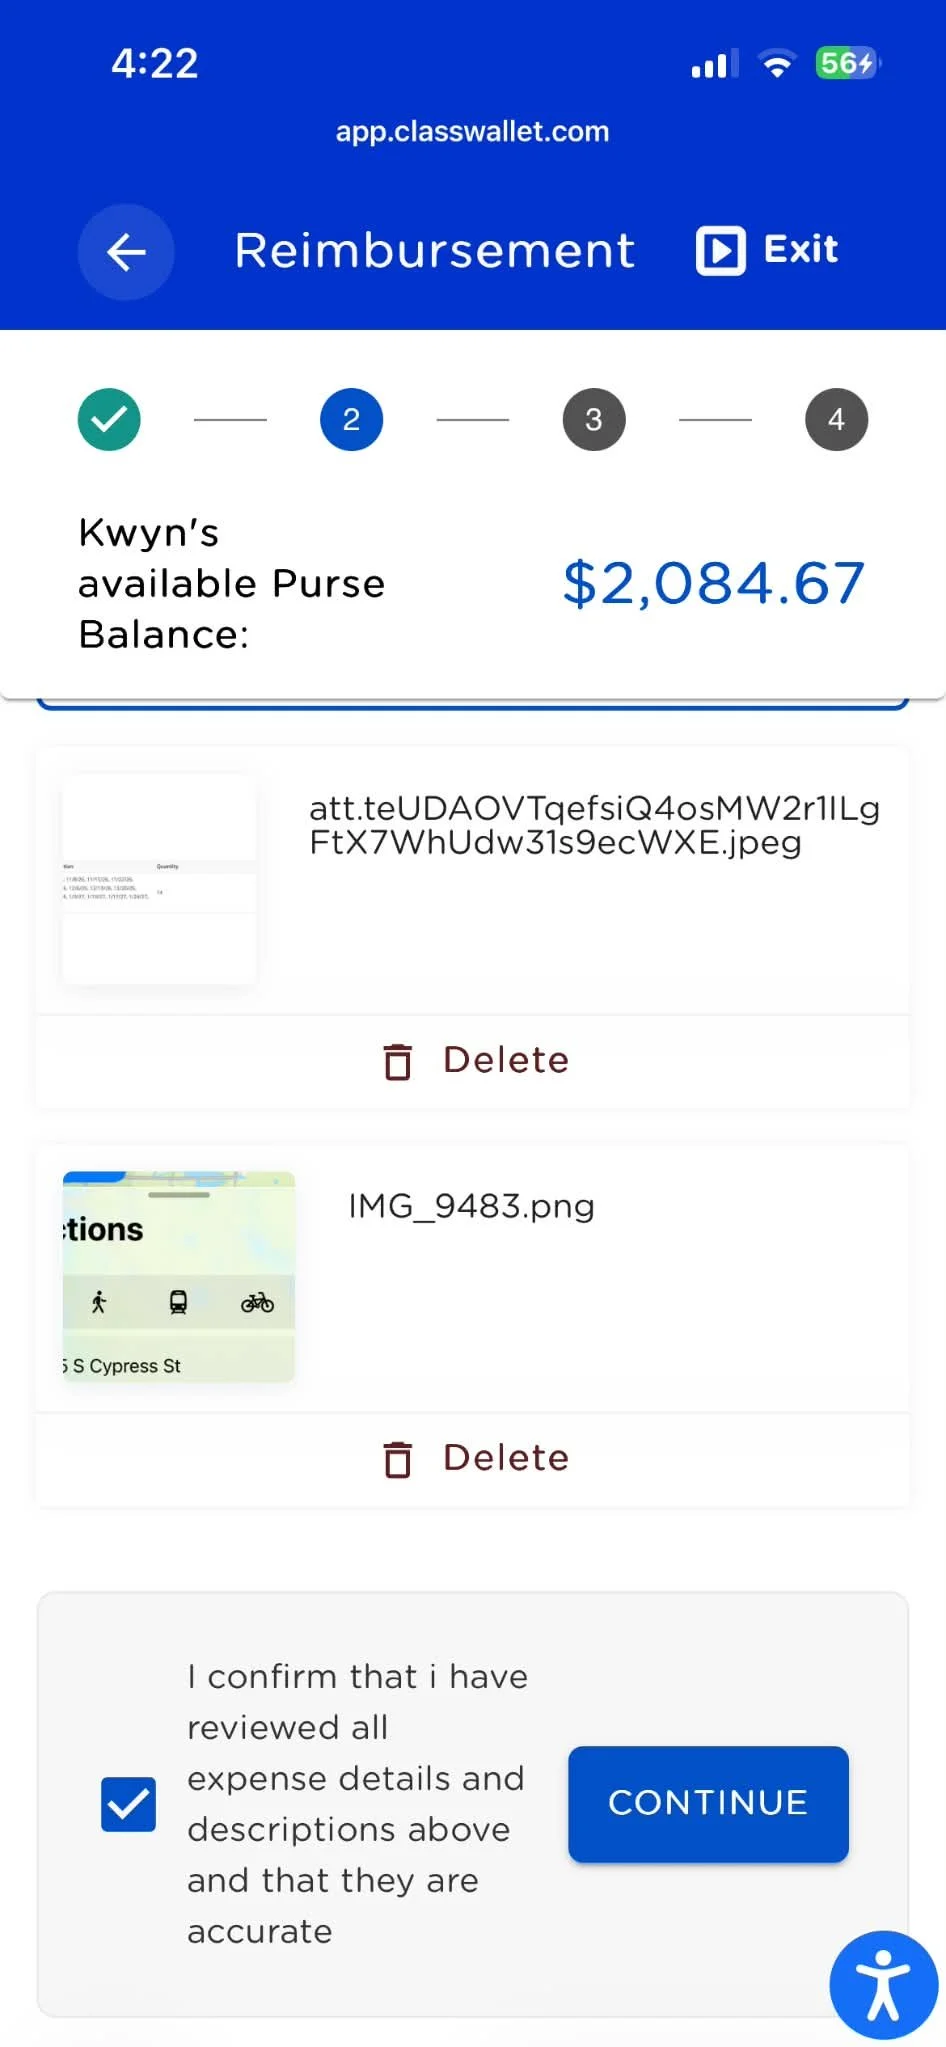
23. Now confirm and continue.
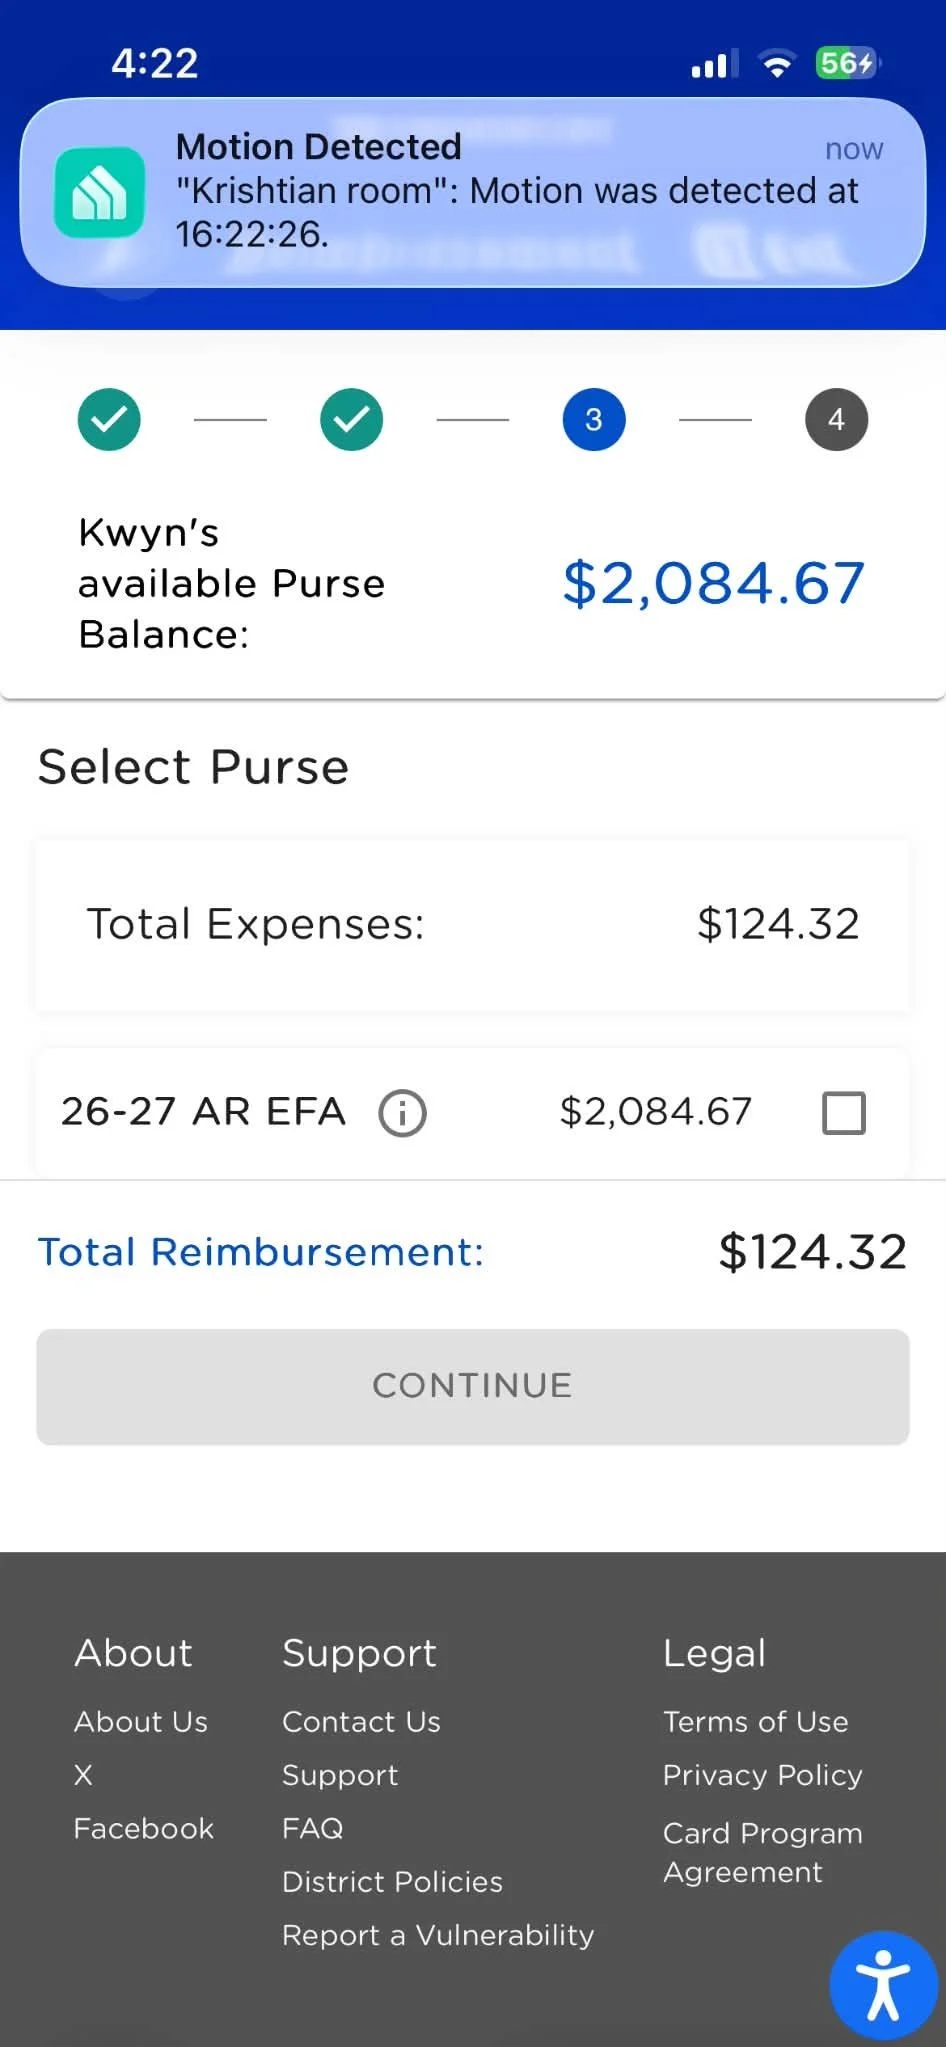
24. next screen asks you to select the purse.
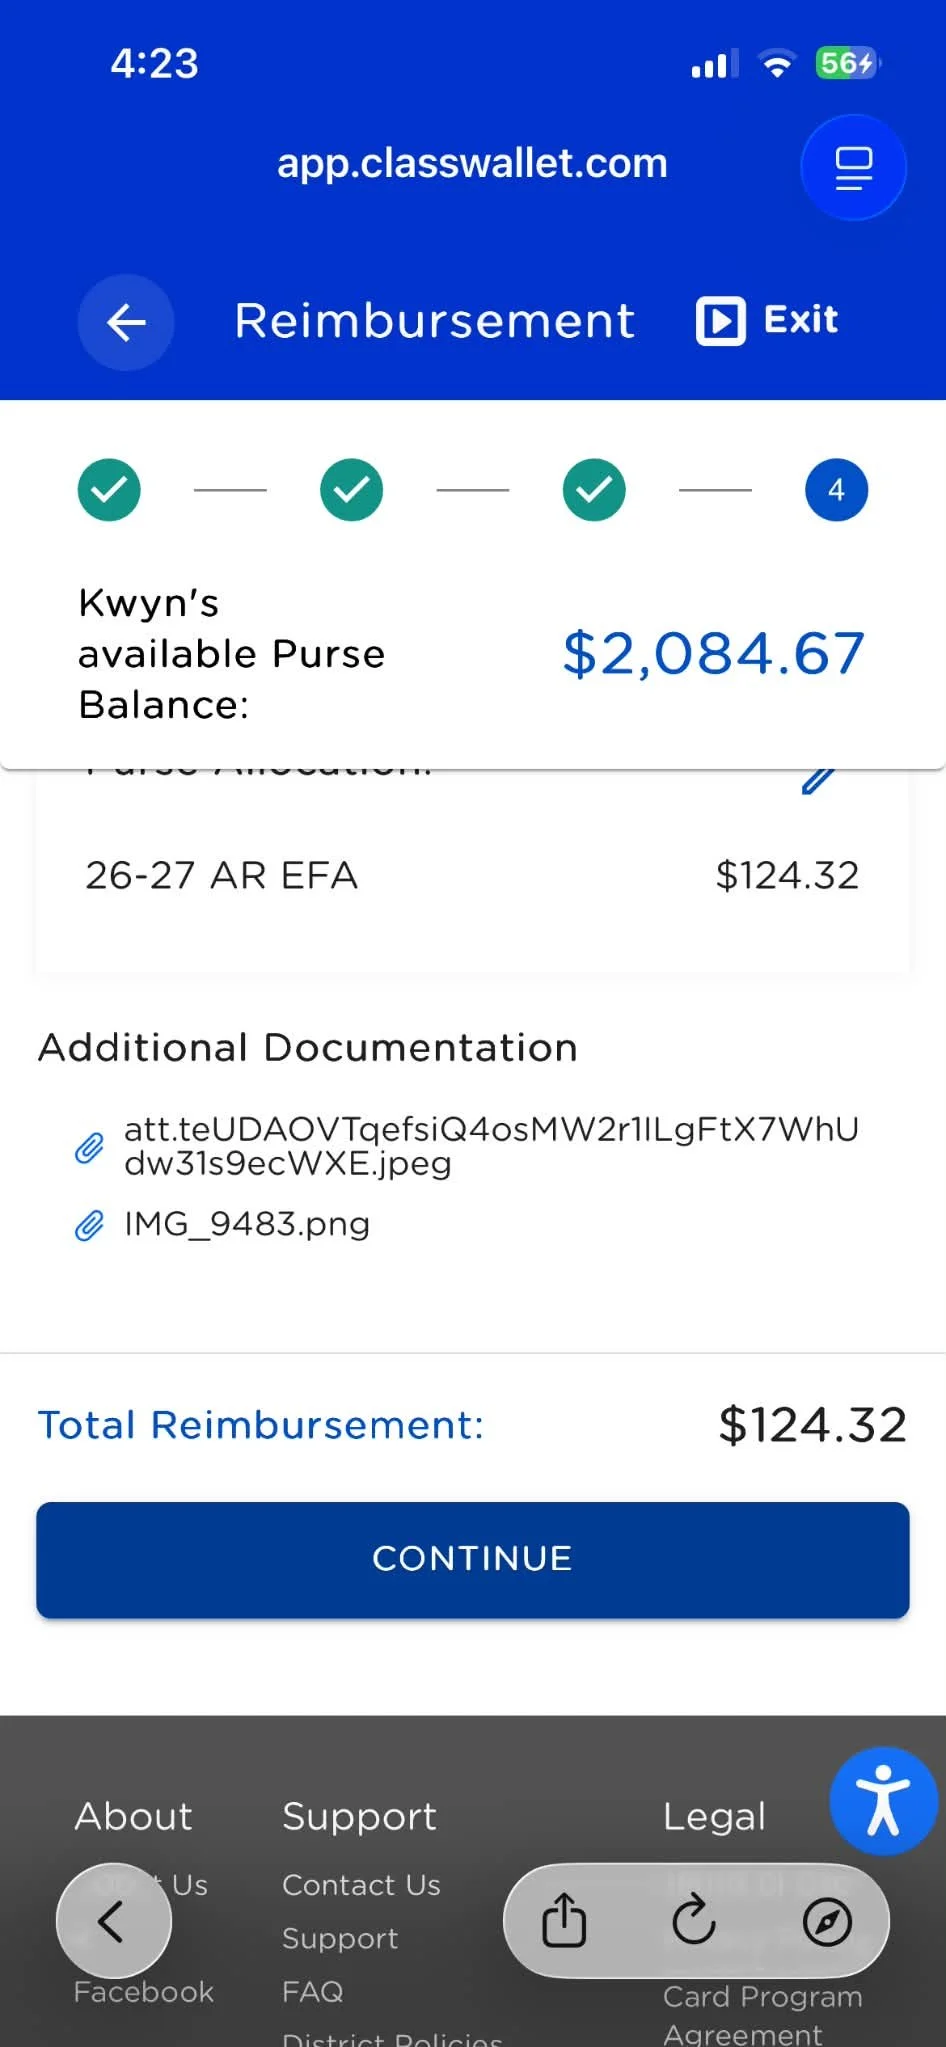
25, once you do scroll down to continue.
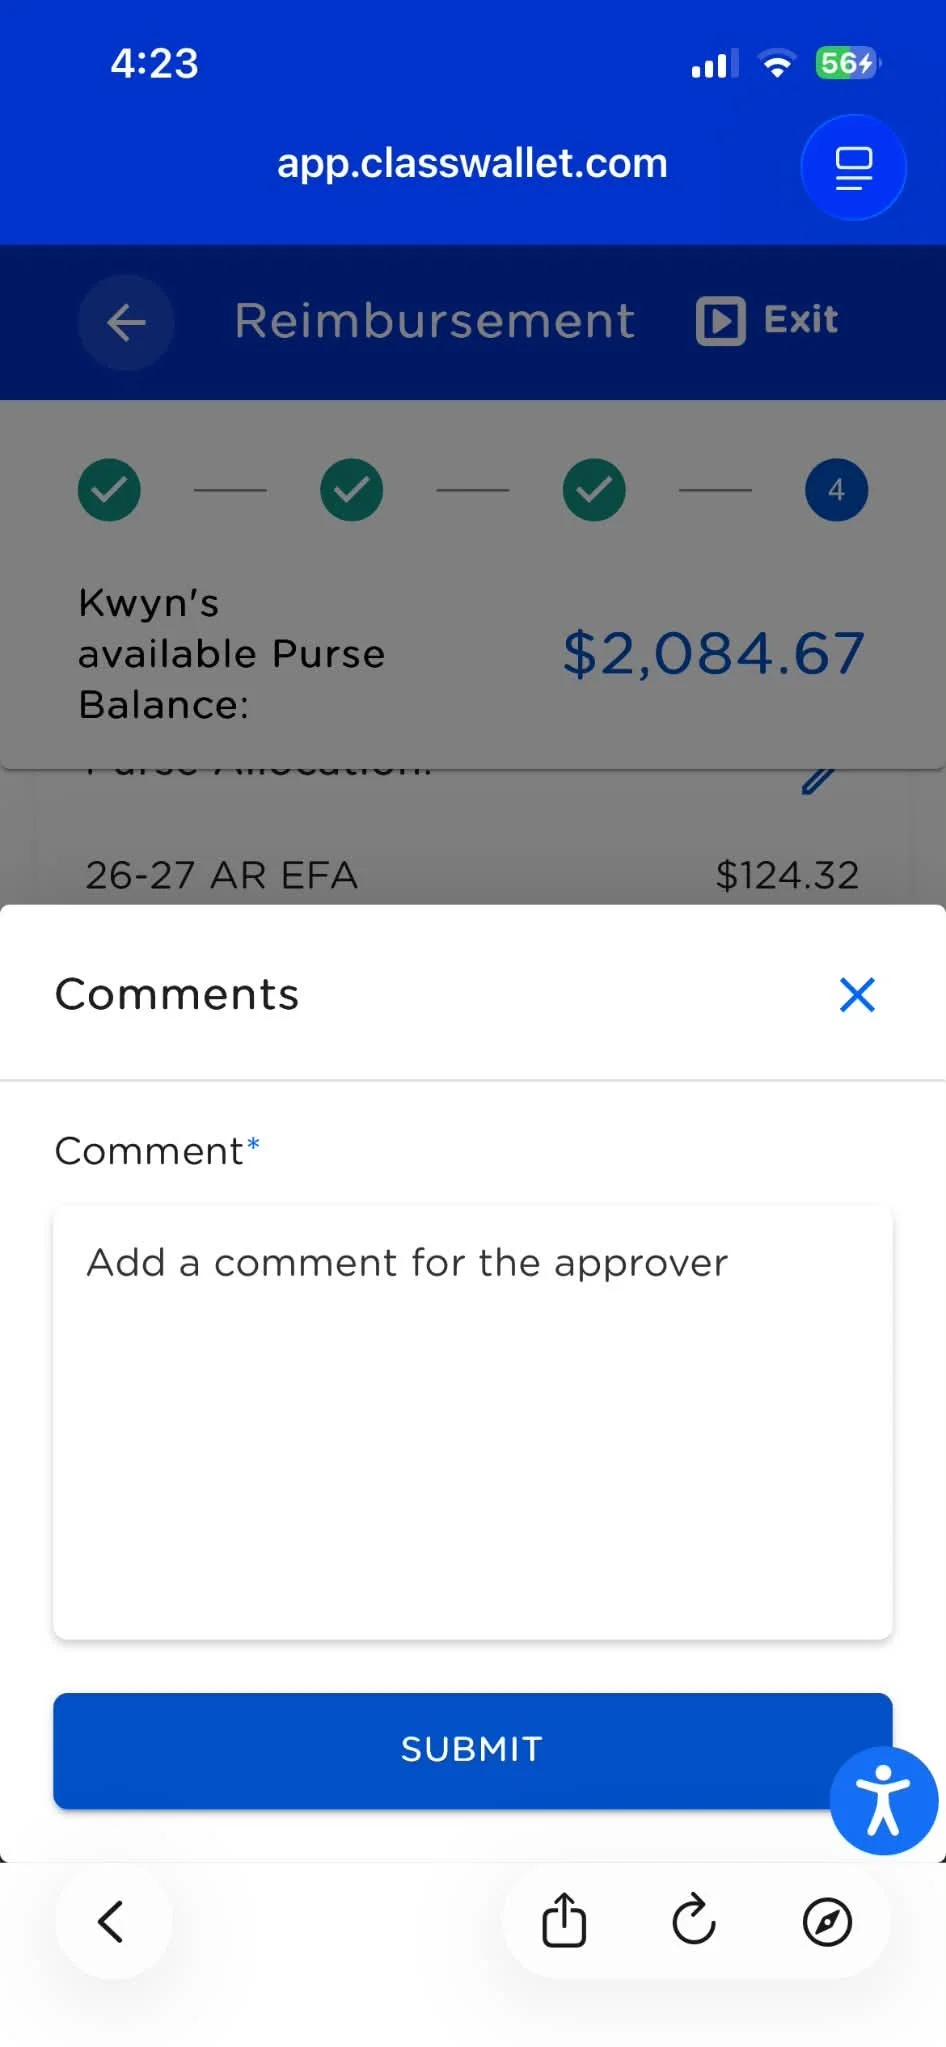
26. now you add the comments.
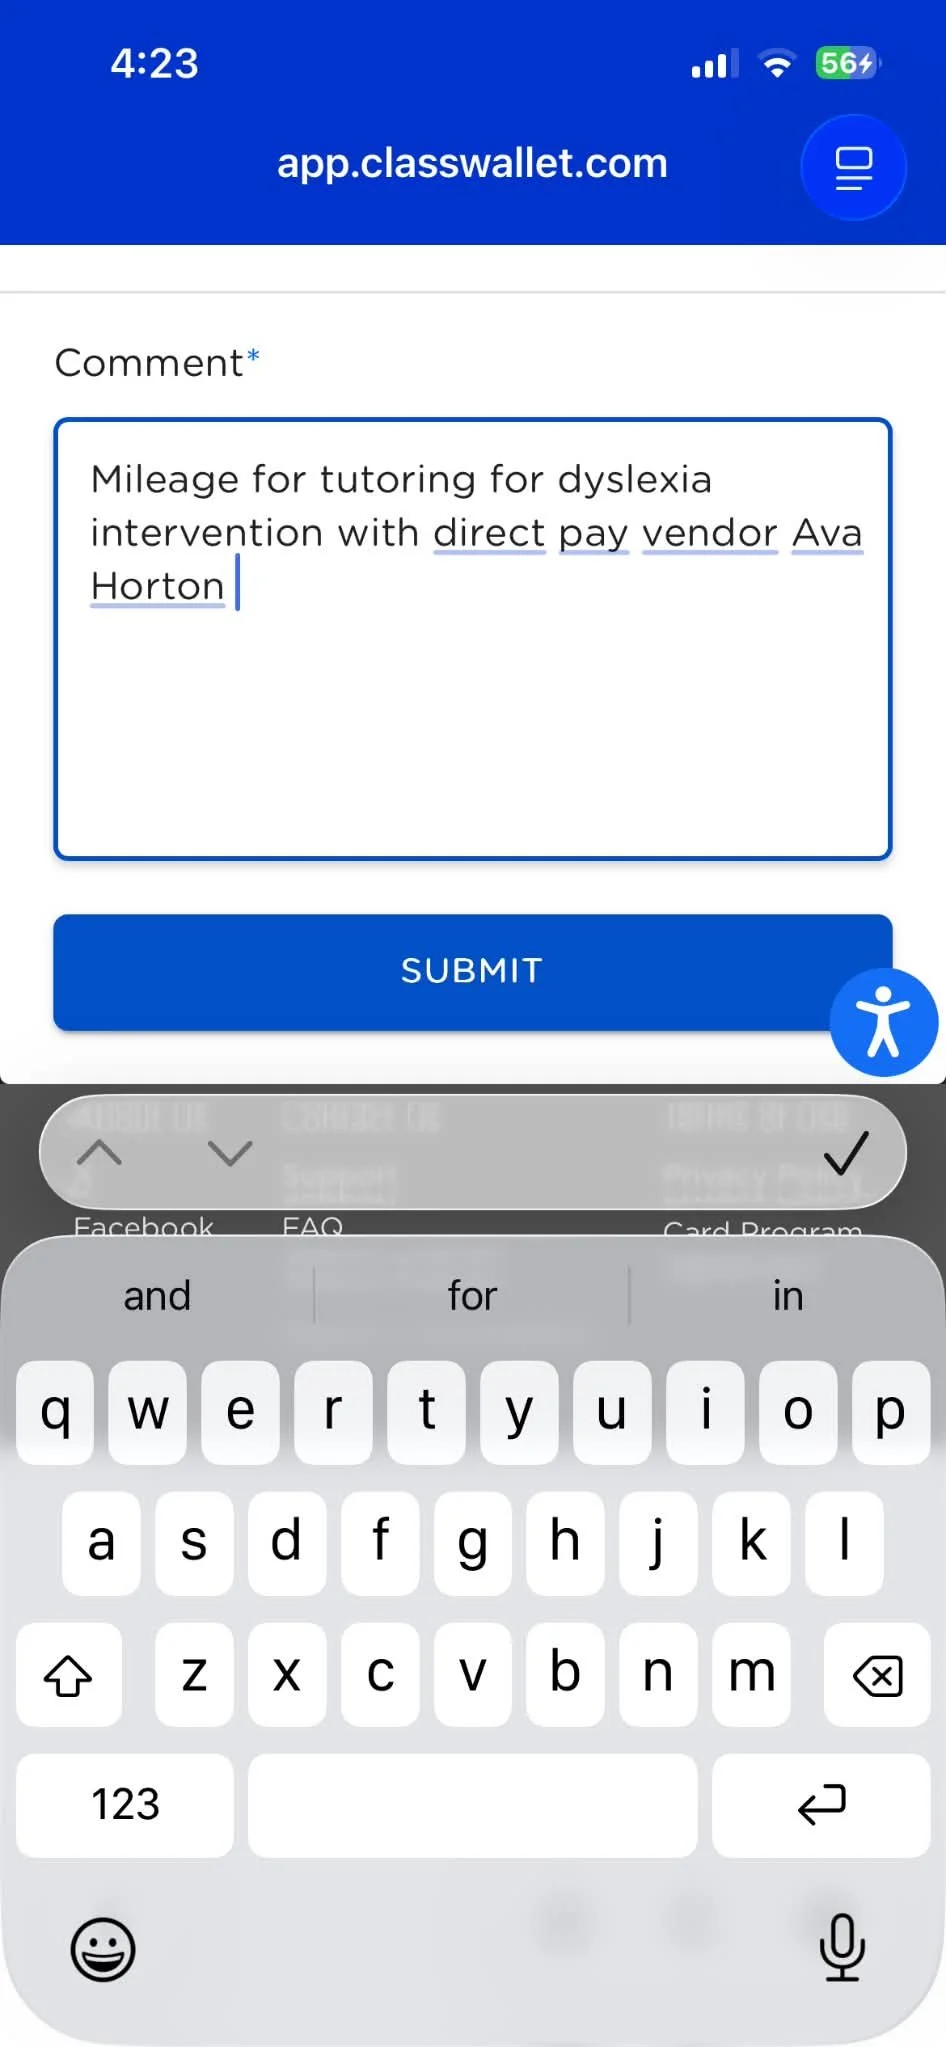
27. Type those comments in and then submit.

28. CONGRATS!!! You have completed your reimbursement request. If by some chance you find you forgot to add documentation that is needed, you can use this information to go add more documentation.
If you messed up the amount requested or attached this to the wrong child you will need to go cancel the order and start over.